
My mom and I have been working on reupholstering my desk chair for the studio. She gave me a very good head start on the project by starting on it while I was still working on organization, so that was a huge help. The chair we’re reupholstering is one that I’ve had for several years, and I love it. When I started redoing my studio, I thought about purchasing a new desk chair in the right color to save myself the hassle of reupholstering this one, but I couldn’t find one that I liked as much as this one. It’s very comfortable and has a high back, which I love. So my best option was to reupholster the one I have.
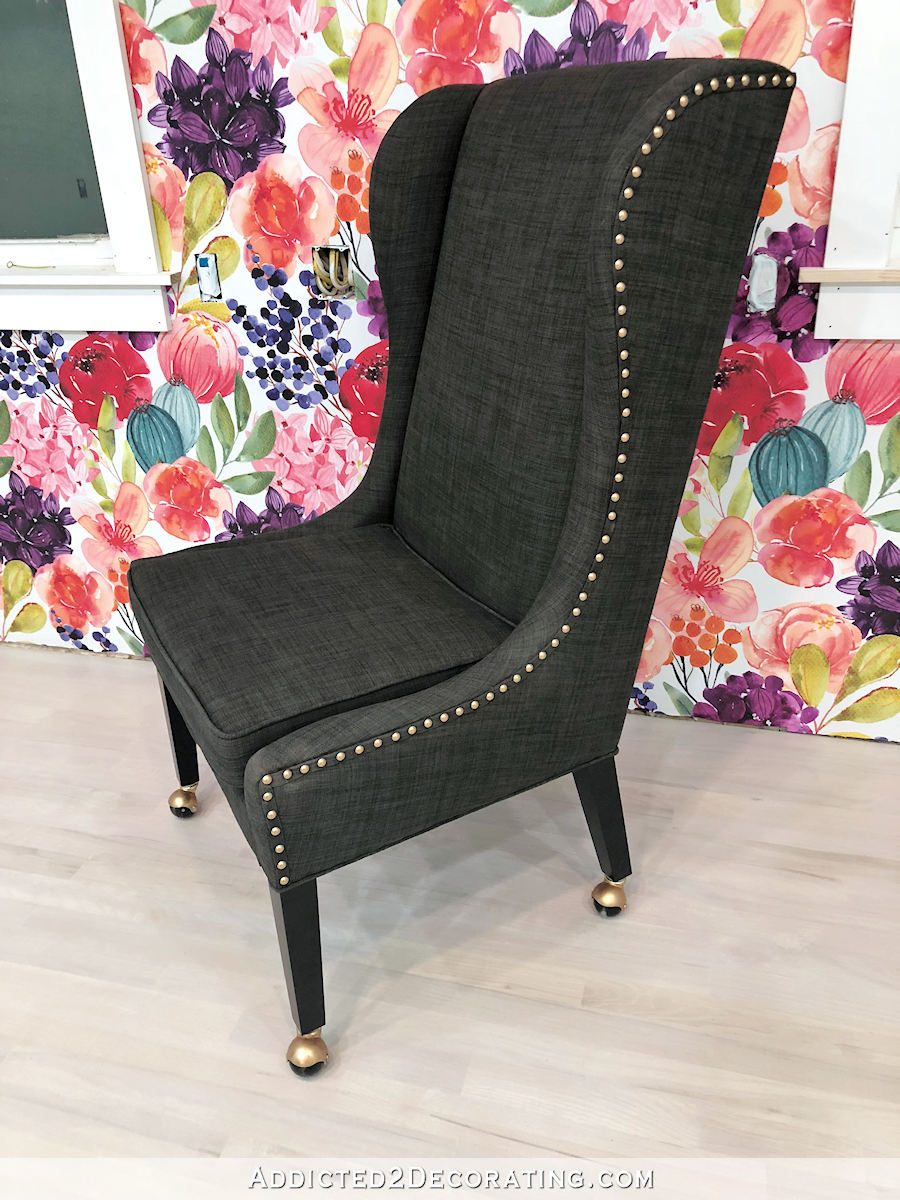
Here’s what the chair looked like when it was new…
But after having the chair for a few years, my cat completely tore it up. The woven fabric was perfect for her to get her little claws into. So even if the current color went perfectly with my vision for my studio (it doesn’t), I’d still need to reupholster it because she has completely shredded it. And of course, I’ll be reupholstering it with velvet, which is my favorite cat-proof fabric.
My #1 tip for reupholstering chairs and sofas is to take the old fabric off in an orderly fashion. I’ll never forget the show Trading Spaces for many reasons (most of them not good 😀 ). But one thing I remember very vividly is the shoddy reupholstery jobs those amateurs would do. And under the guidance of those designers (I’m looking at you, Hildi), they’d start by ripping into the original fabric, tearing it off as quickly as possible. That may make for exciting TV, but if you’re a novice at reupholstering, or even if you’re like me and you’re not a novice, but you just don’t do it often enough to be really proficient at it, then you’re going to want to take your time in removing the original fabric.
In removing the original fabric in an orderly way, it will take more time at the beginning, but it will also save you time and frustration in the long run. First, taking it apart in an orderly way will help you see just how the chair was upholstered in the first place. You can see exactly where each piece is stapled into place. It will give you the opportunity to take lots of pictures of how the pieces fit together. But most importantly, the original pieces will serve as patterns that you can use to cut the new pieces of fabric.
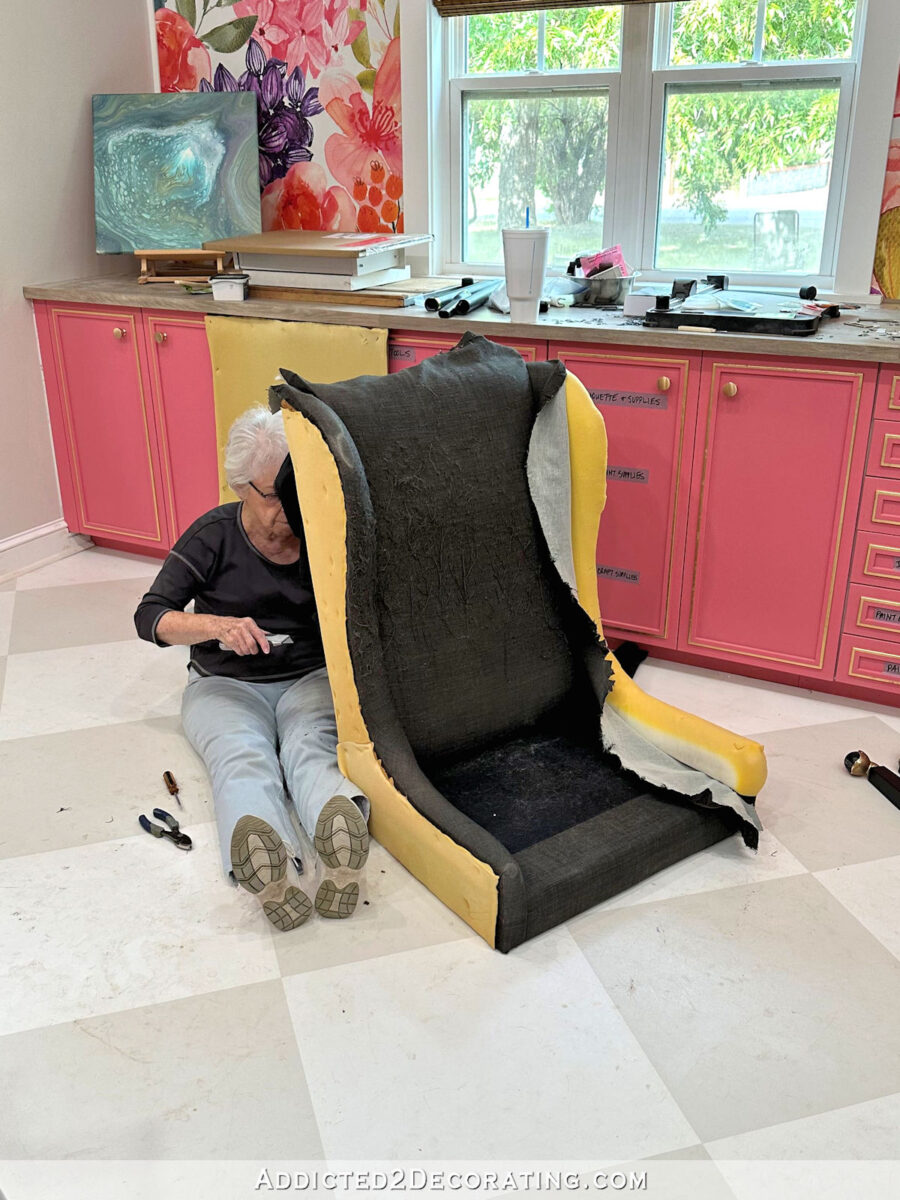
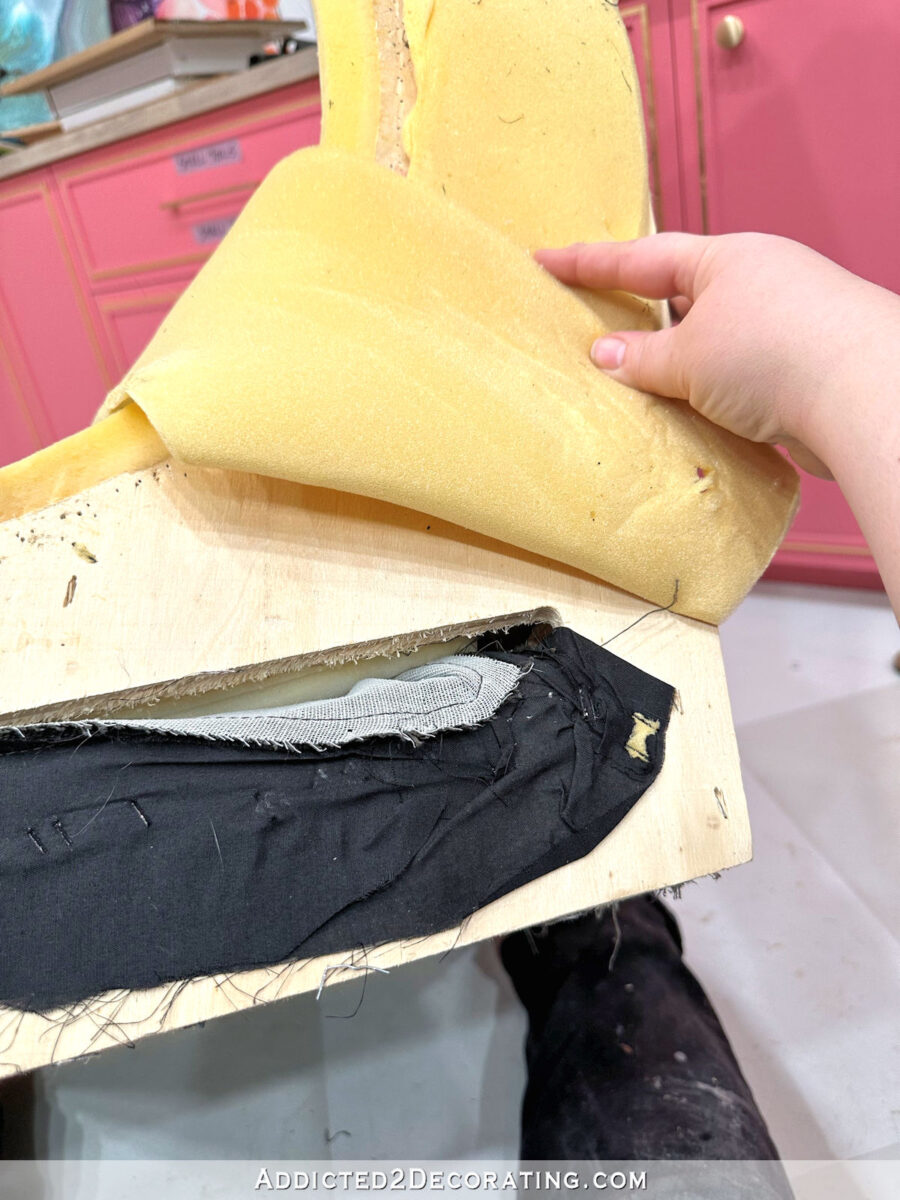
Here’s my mom carefully removing the fabric one piece at a time, starting with the very back, and then the outside of the arms and wings.

The most important tool in taking old fabric off of an upholstered chair or sofa is a flat head screwdriver. This will help you to remove all of the old staples holding the fabric on.

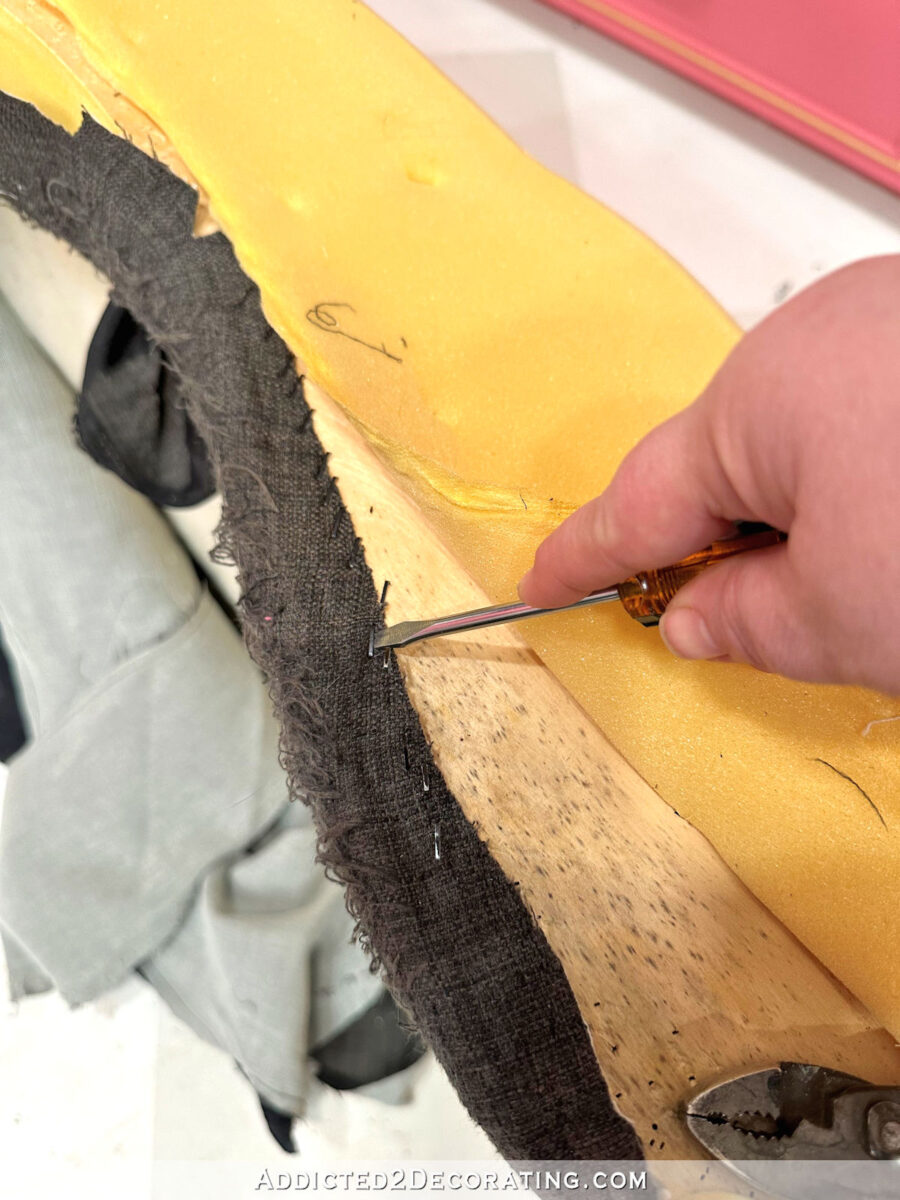
But sometimes the staples are so deep into the wood that you can’t get a flathead screwdriver under them. In that case, I use a new and very sharp razor blade to cut the fabric around the staple, leaving the fabric as intact as possible.
I always take photos of areas like this just so that I can remember how it looked. Without a picture to remind me, I might start reupholstering this part, see this bulk of fabric that won’t lie flat, and think that I’ve done something wrong. Having a photo is helpful to remind me that it looked like this originally.

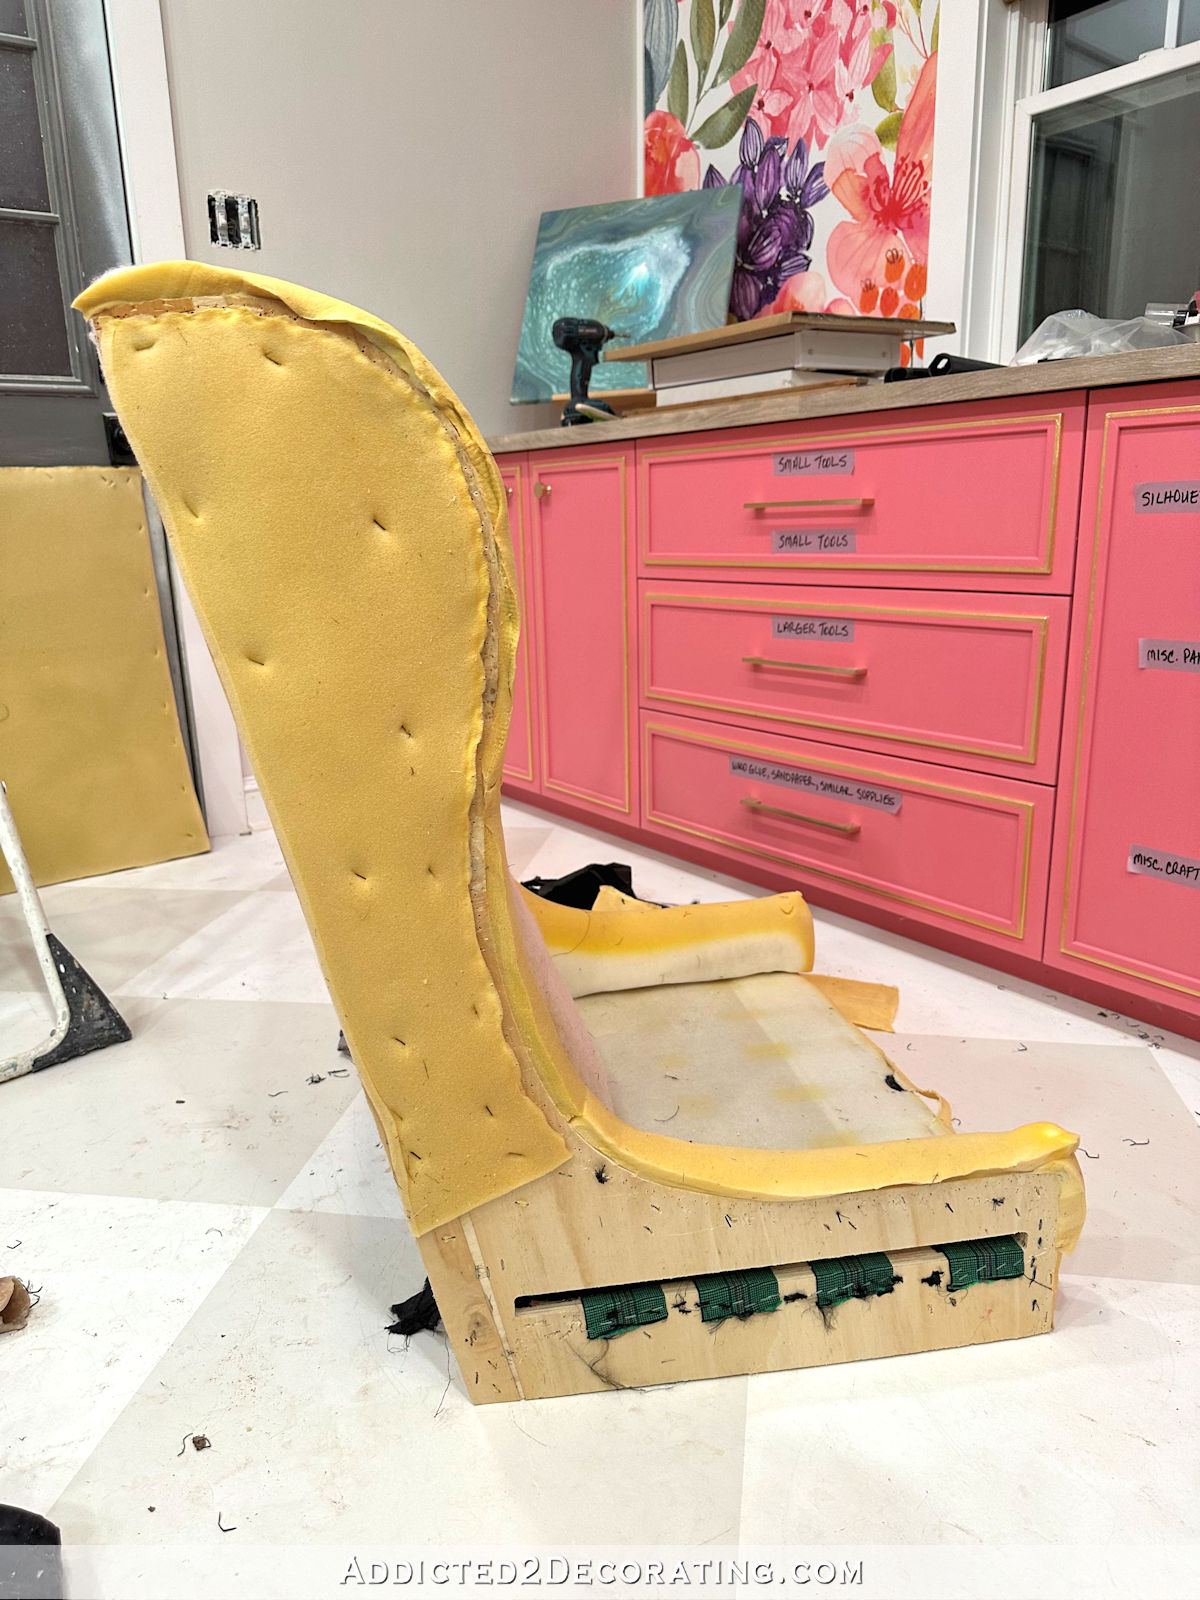
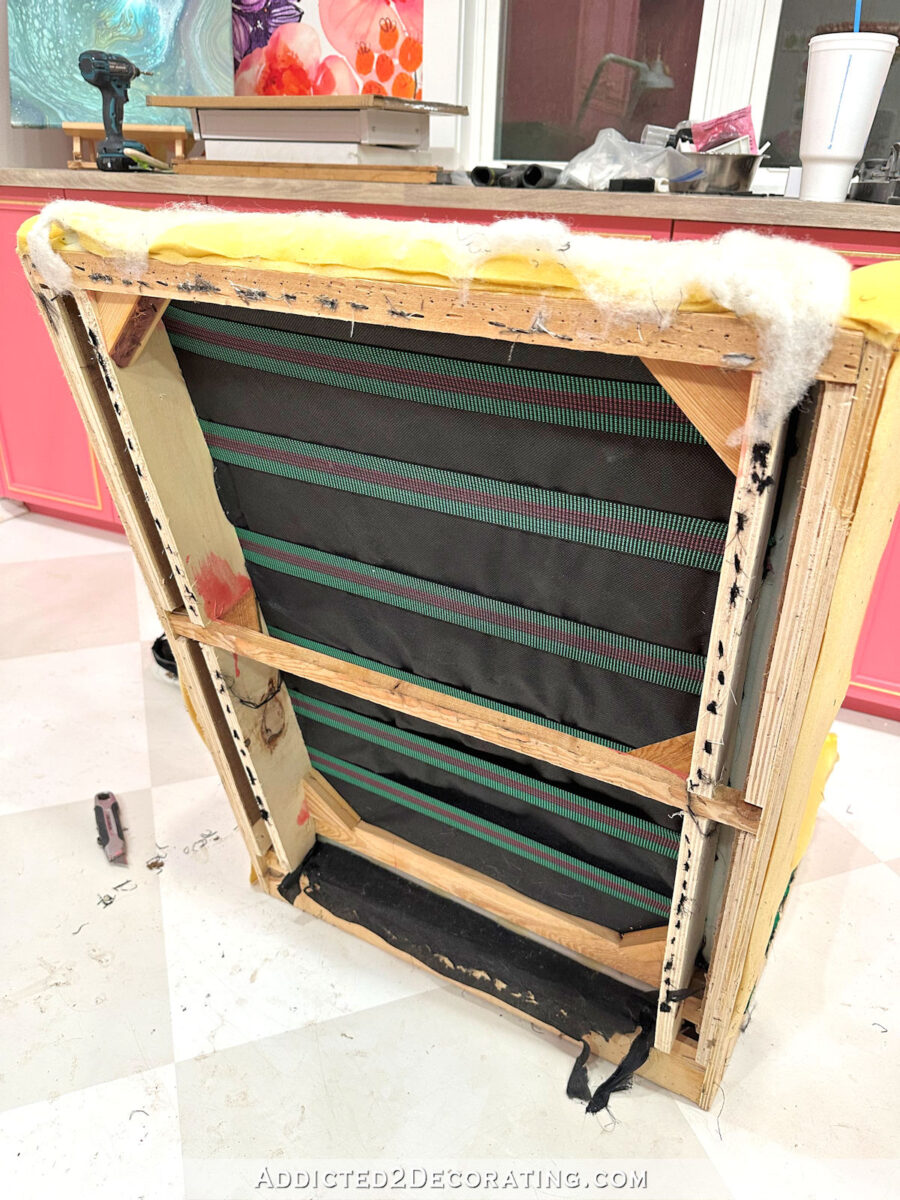
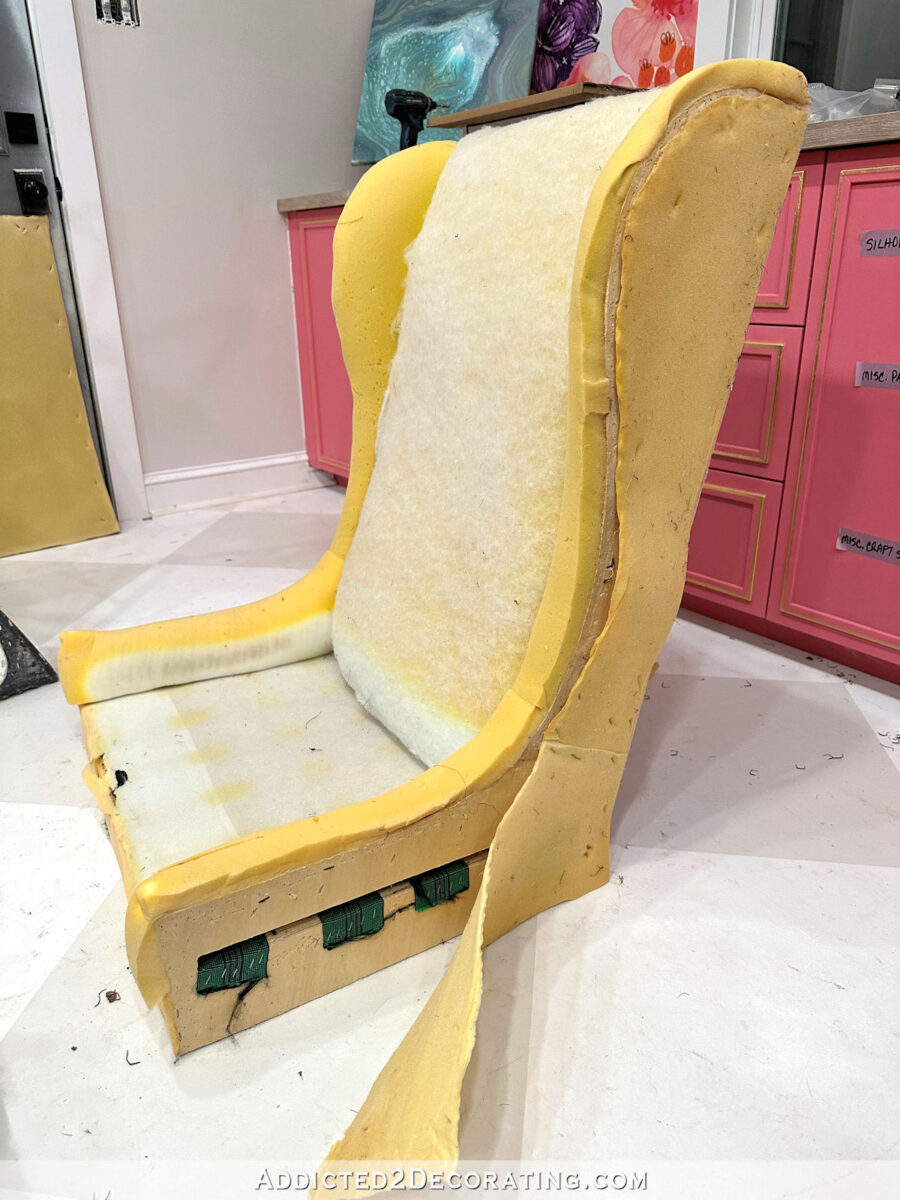
The fabric generally comes off of chairs and sofas in this order: the back side of the chair back, the outsides of the arms (and wings on a wingback chair), the inside of the arms (and wings), the front side of the chair back, and then the seat. And once all of the fabric was off of my chair, here’s how it looked.

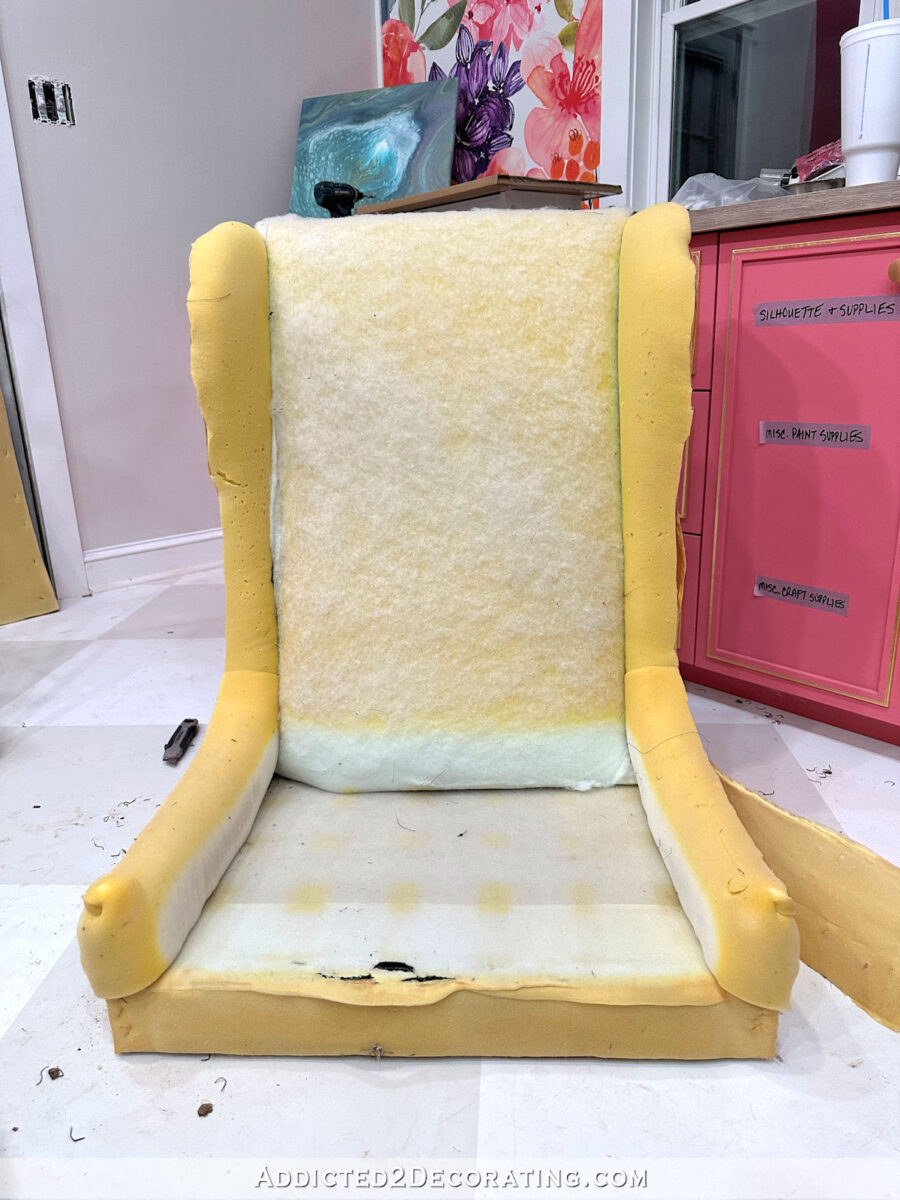
This is when you need to assess if you’re going to need new foam or batting. I’ve seen chairs and sofas that had pristine foam and batting under old fabric. And I’ve seen others that had old and brittle foam and destroyed batting. Heck, I’ve even reupholstered a very old daybed that was originally filled with something that I can only guess was straw. But in this case, the foam on my chair looked pretty good, but the batting was looking pretty thin.

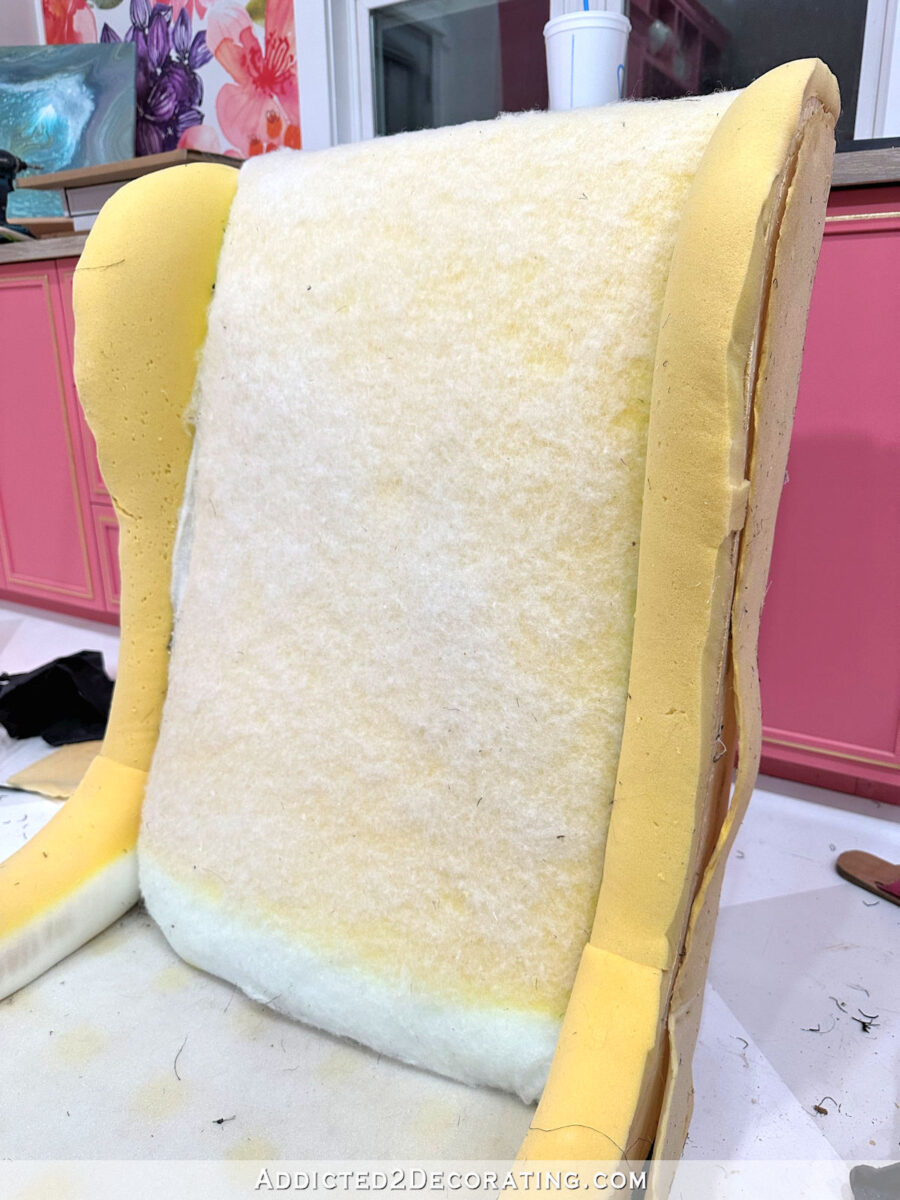
So a couple of layers of new batting will be needed on this chair before I add the new fabric.


The fabric on the back had a thick piece of cardboard under it, so I’ll be reusing that to give some structure to the back.

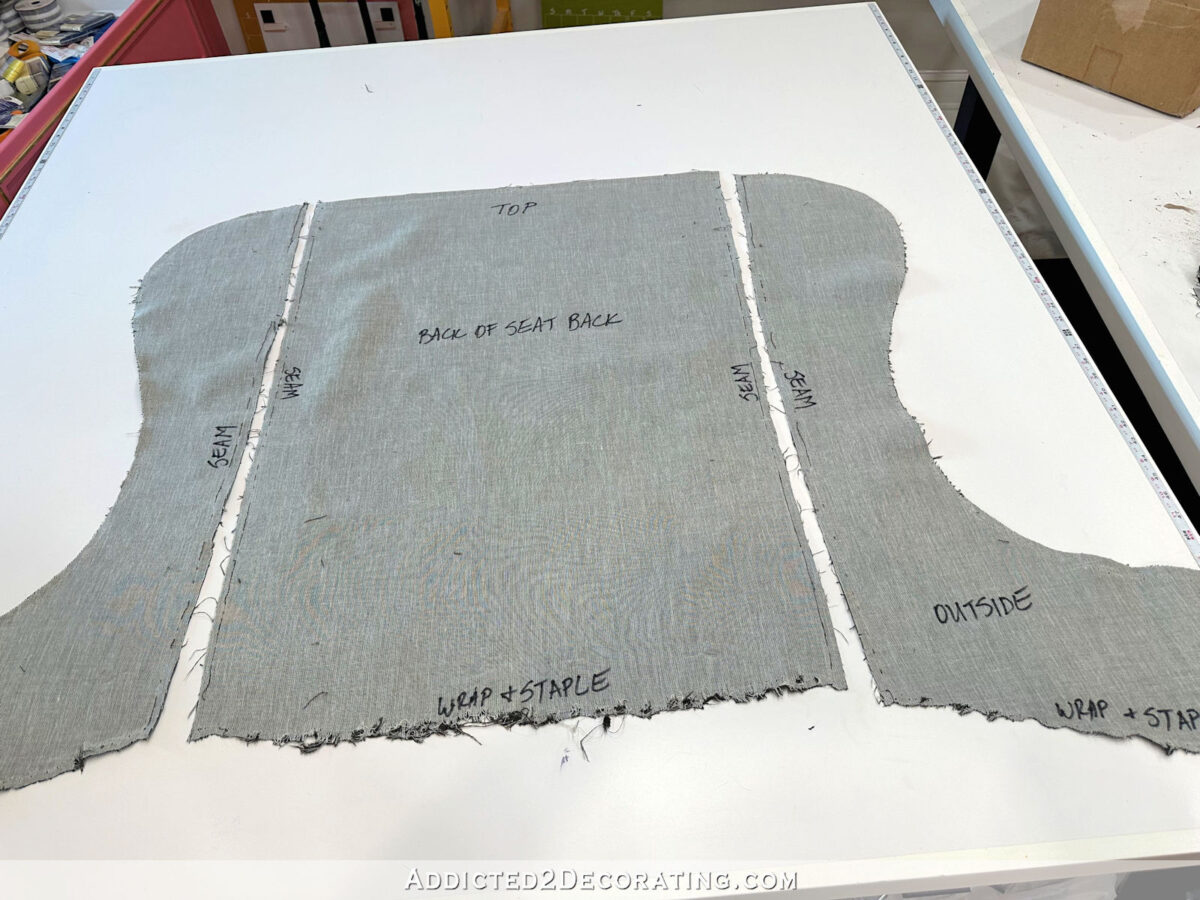
Once we had all of the fabric off, I was ready to take the pieces apart and prepare them as my patterns for the new pieces. Here’s a look at the piece that wrapped around the back of the chair and onto the outside of the arms and wings. You can see the damage my cat did.

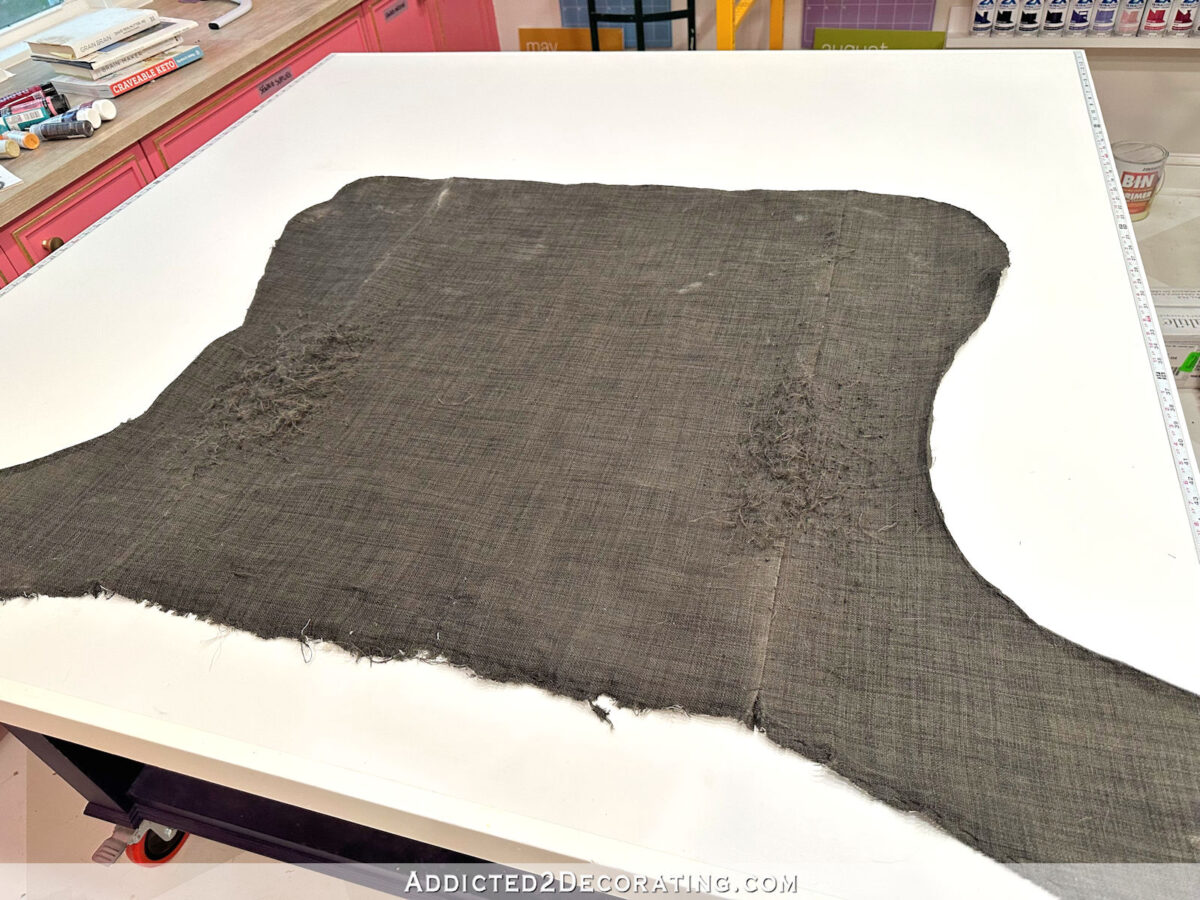
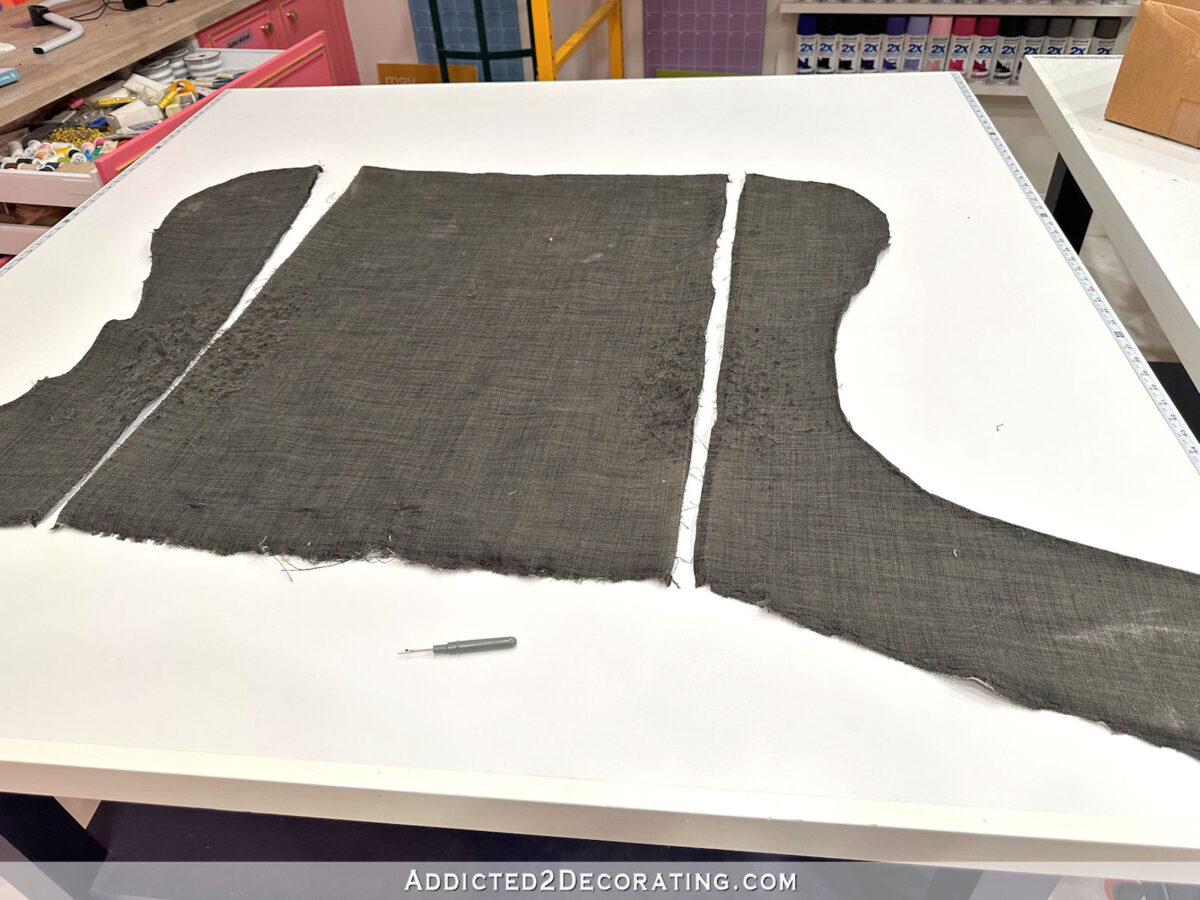
This was three pieces sewn together, so I used my stitch ripper to take them apart.

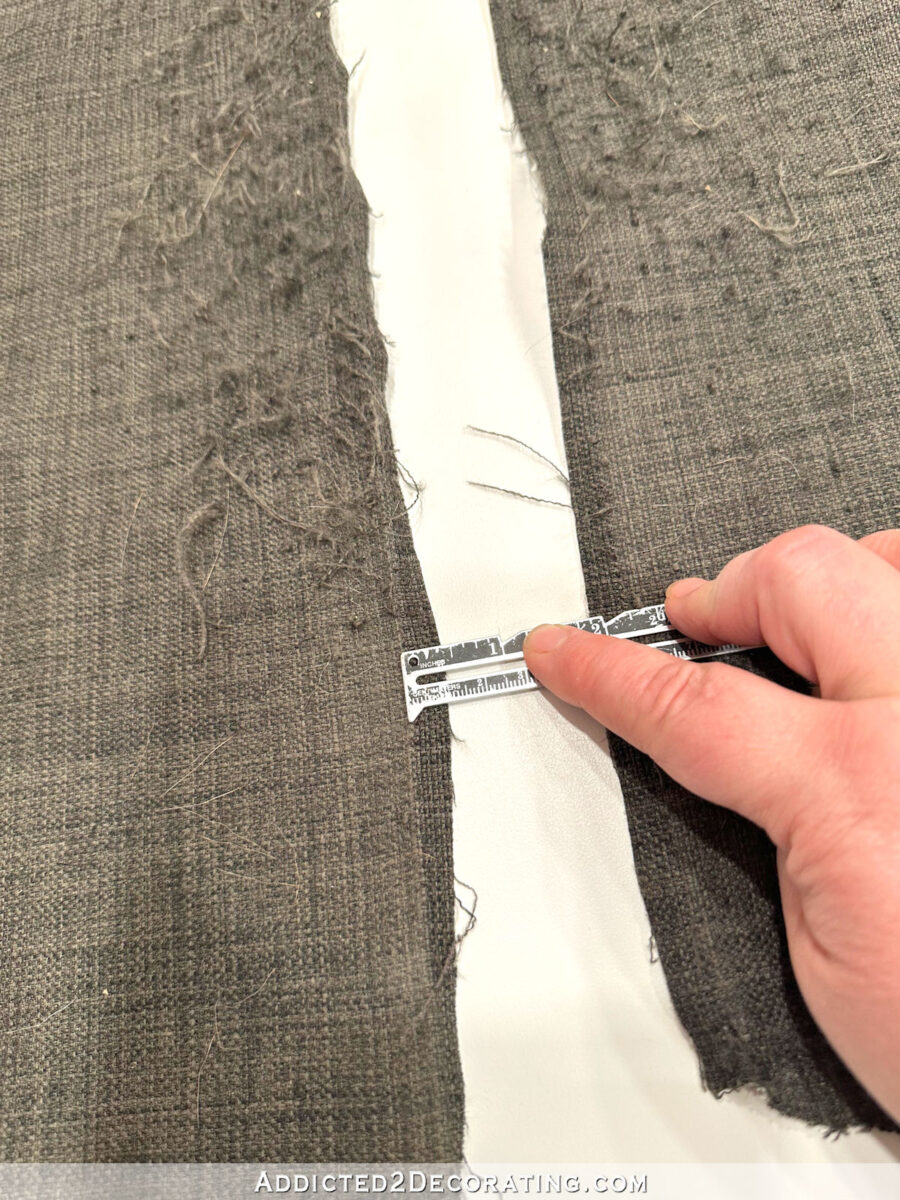
I also measured the seam allowance and made note of that measurement. This way I can decide if I want to use that same seam measurement or add extra allowance when I cut the new fabric. These seams were only 3/8-inch, so I’ll probably add at least 1/8 inch to the seam allowances when I cut the new fabric.

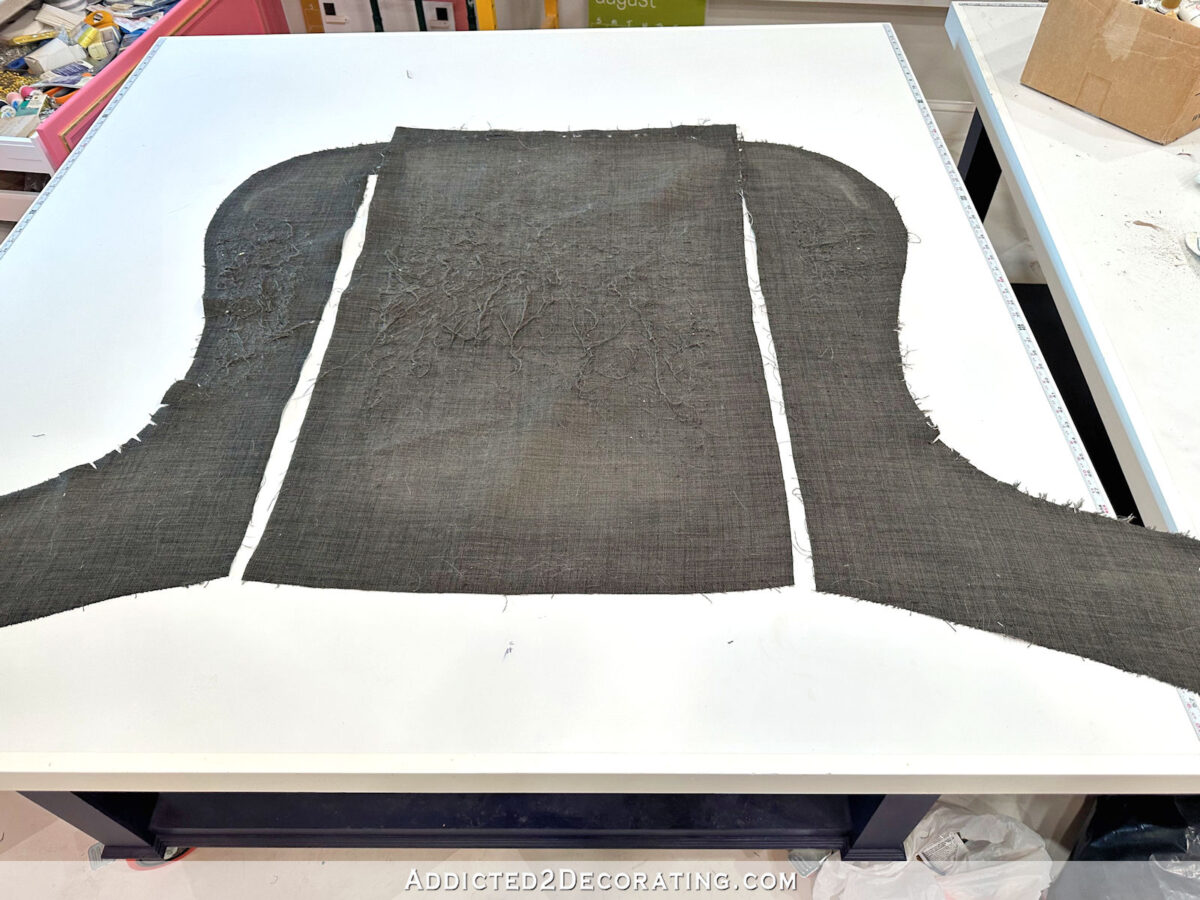
After the pieces were taken apart, I ironed them so that the seams allowances would lie flat.

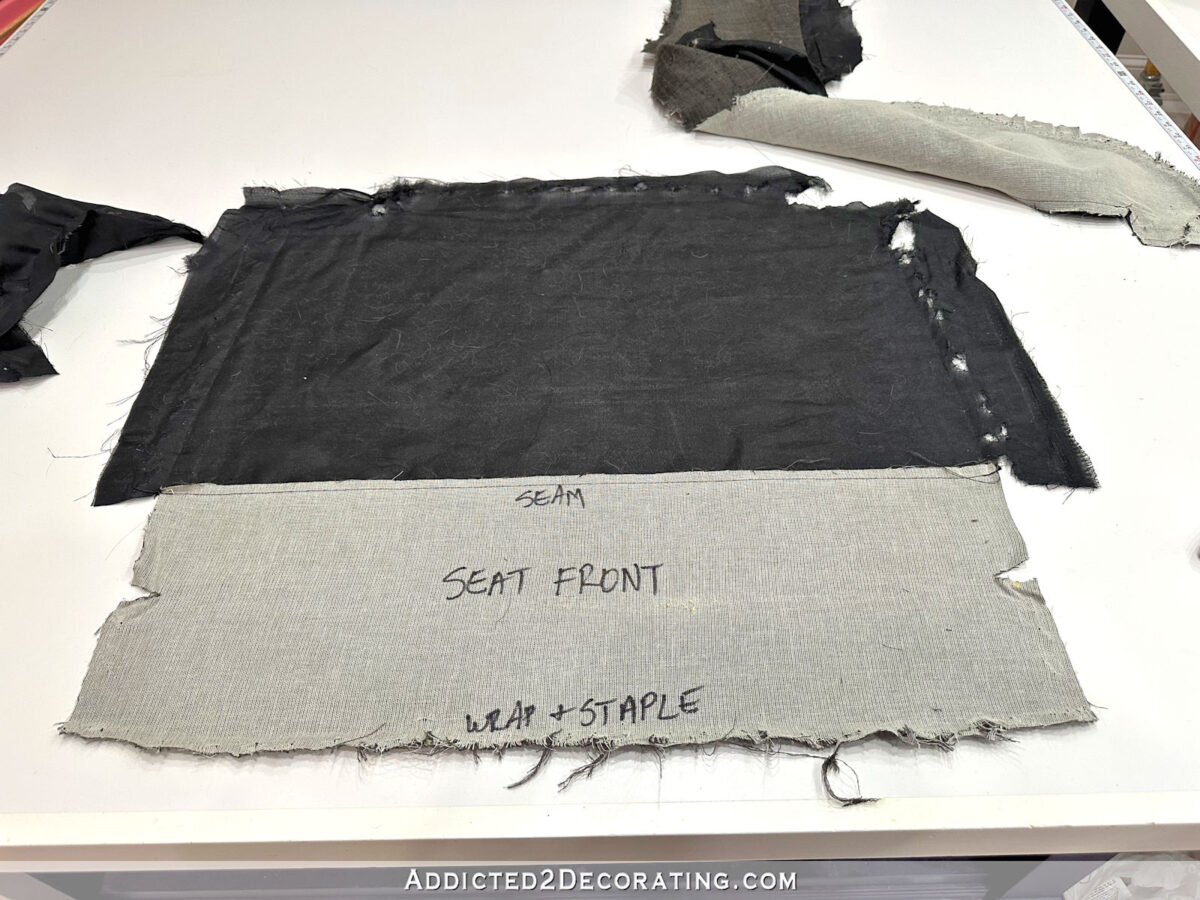
And then I flipped the pieces over and used a big Sharpie marker to make notes. I noted which edges were seams, which edges were wrap-and-staple. On the center piece, I noted which side was the top, since that might be hard to tell on a rectangle piece once the pieces were separated. Basically, I just made notes of everything I thought might be helpful for me to remember. And I don’t ever assume that something is so obvious or basic that I’ll just remember. I’ve had too many times when I assumed I’d remember something, only to get in the middle of the reupholstering project and get confused about something because I didn’t make notes or take pictures to remind me of the details.

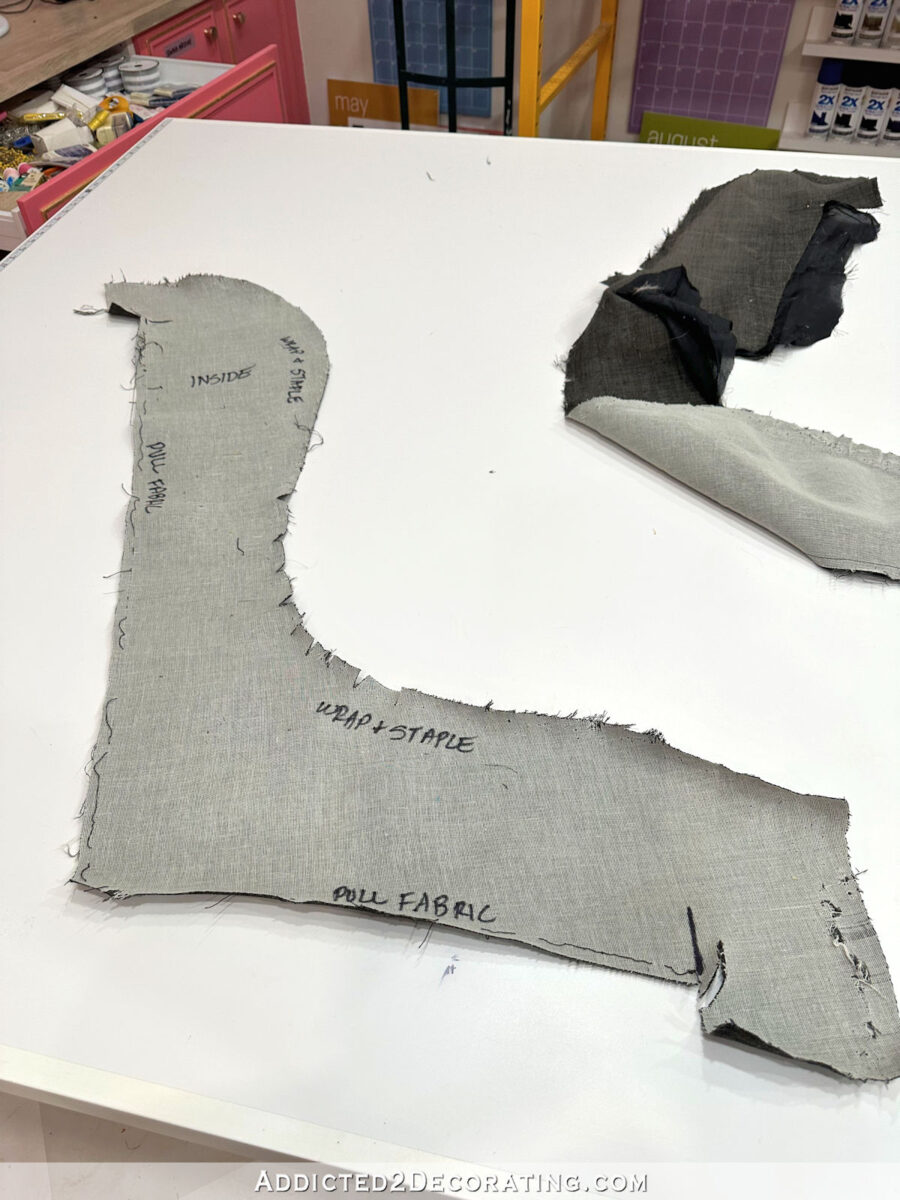
I did the same thing for the pieces that went on the front of the seat back and the inside of the arms and wings. None of these pieces were sewn to each other. Instead, they had eight-inch strips of thin black fabric sewn to most of the edges, and that thin black fabric is what is shoved into the crevices, pulled, and stapled into place.

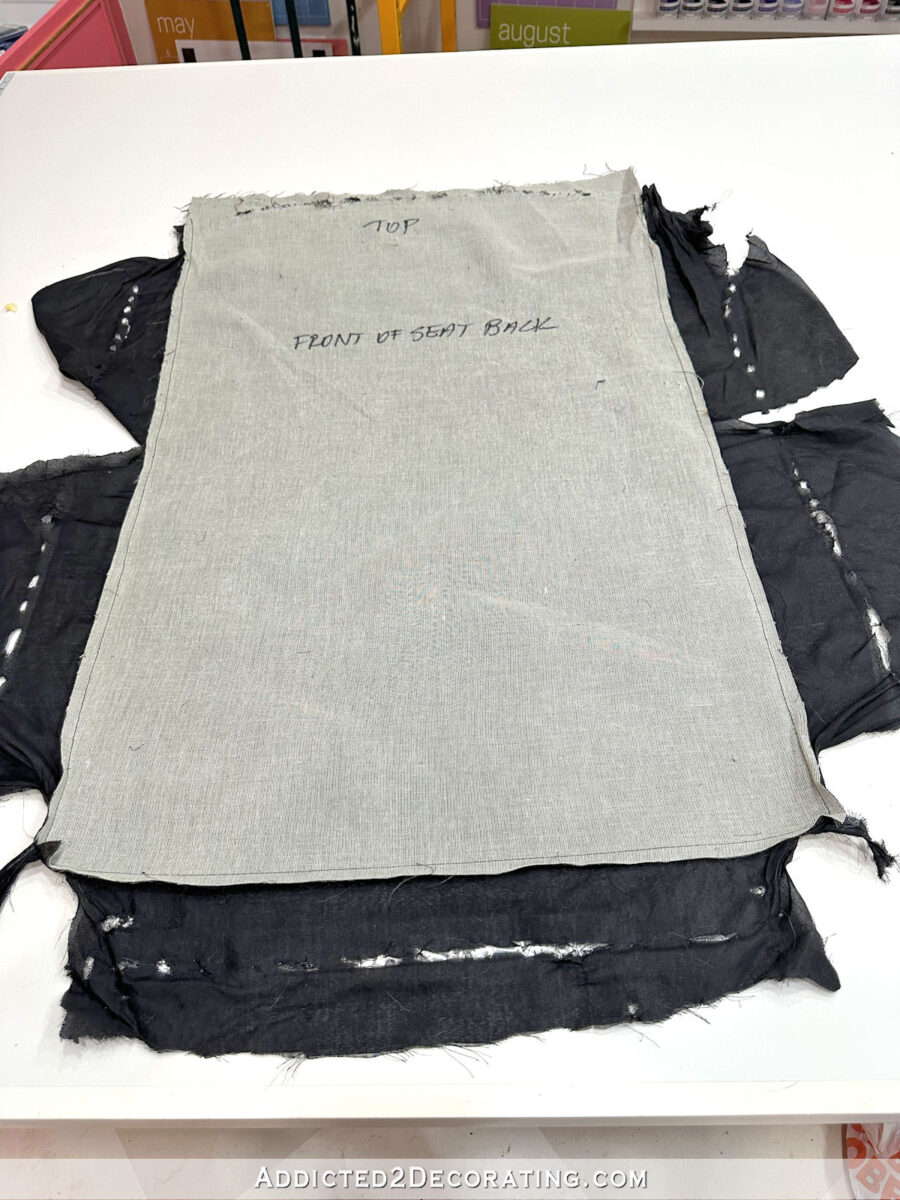
Those pieces of thin black fabric aren’t visible on the finished chair. So after removing that black fabric, I made notes of which edges those pieces (which I call “pull fabric”) were sewn to.

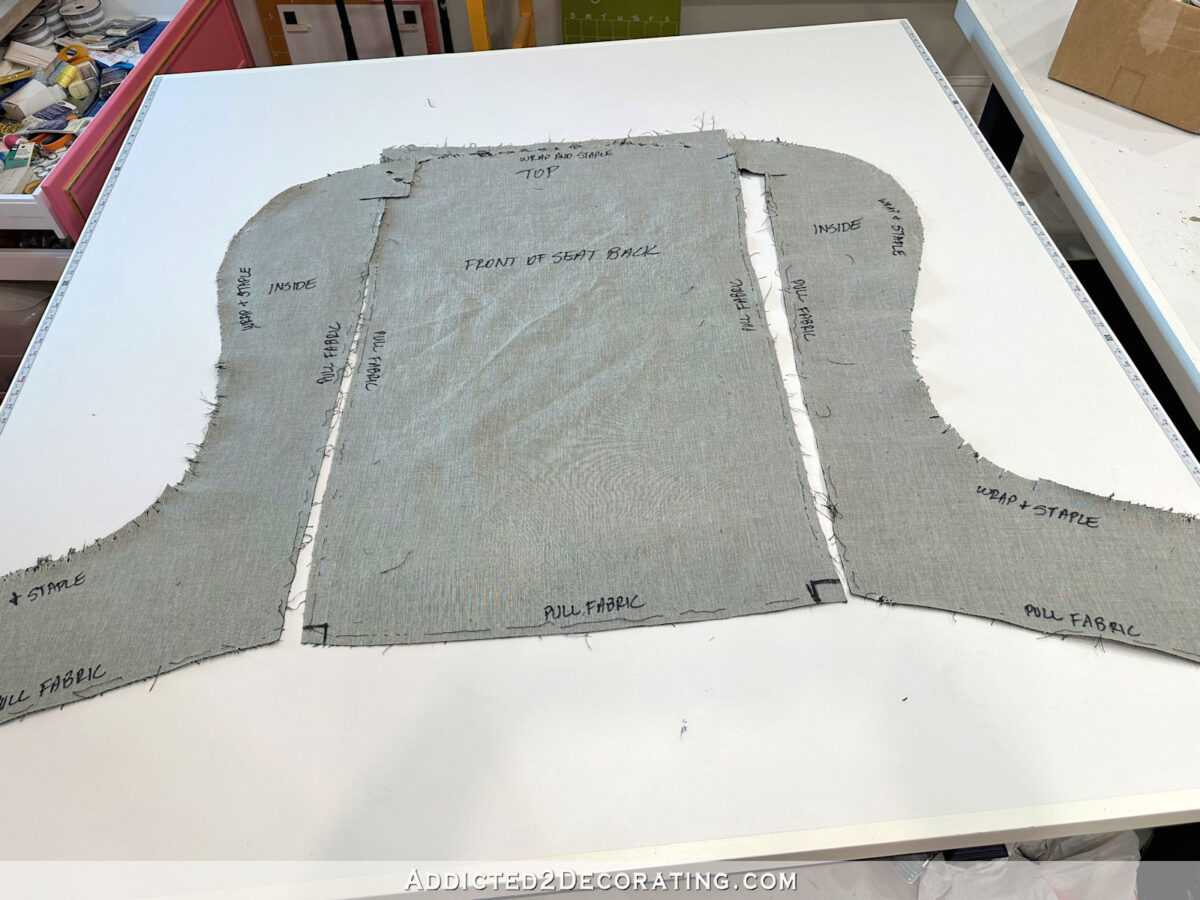
And then I made note of which edges required a wrap-and-staple.

And finally, I did the same thing for the seat. This chair has a seat cushion which covers most of this piece, so there’s a large piece of the thin black fabric. So before taking these apart, I labeled which edge needed to be sewn, and which one was a wrap-and-staple.

So now that I have all of my pattern pieces, and they’re all labeled, I’m ready to use those to cut the new fabric. And all of my notes should come in handy when I start putting it all back together.

It’ll go back together in the exact opposite order that we took it apart. First, the seat, then the front of the chair back. Then the inside of the arms and wings. And finally, the three-piece back and outside arms and wings piece that gets sewn together. And because I took pictures of the tricky parts with confusing details, I can breeze through those tricky parts as well. Stay tuned for the new and improved desk chair!

Addicted 2 Decorating is where I share my DIY and decorating journey as I remodel and decorate the 1948 fixer upper that my husband, Matt, and I bought in 2013. Matt has M.S. and is unable to do physical work, so I do the majority of the work on the house by myself. You can learn more about me here.