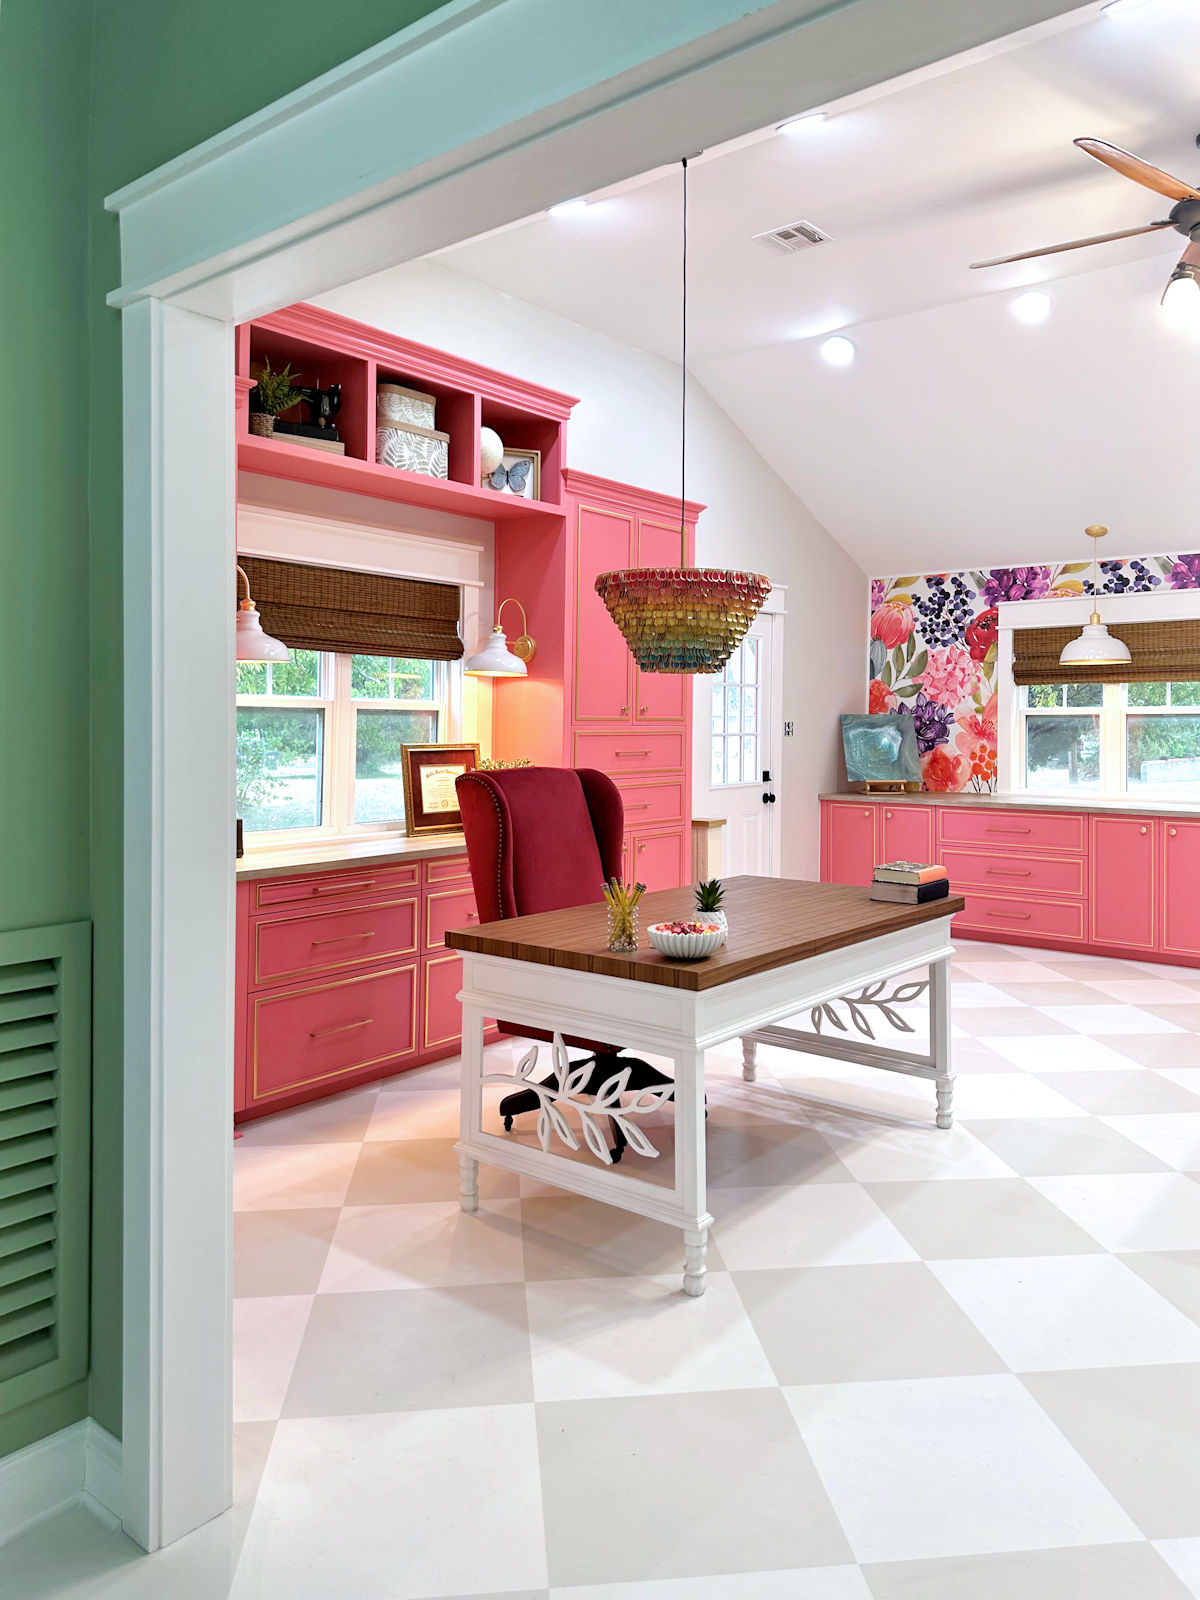
I can’t believe it’s finally done. This room was, by far, my biggest project yet in our house. This was far bigger and more in depth, involving way more DIY projects, than even the master bathroom. And it’s been “in progress” for years. But finally, and literally as of this morning when I finished painting the door, it is finished!
I had really hoped to get the carport cleaned out before taking these “after” pictures because the carport is packed with stuff and it shows through the back doors of the studio. But I decided that we’ve all waited far too long as it is to see this room finished, so I wasn’t willing to delay any longer. So please be so kind as to ignore the view through the back doors. I hope to spend this evening and all day tomorrow cleaning that up so that I can show y’all our finished driveway!! But for now, let’s just pretend that the view out the back studio doors is gorgeous, and we’ll focus on what’s inside the room.
I have very little commentary on this room. I did most of that on this last post where I walked through the timeline of how this room came about. So today, I’ll just show you a few before pictures, and we’ll jump right to the after pictures and skip all the in between.
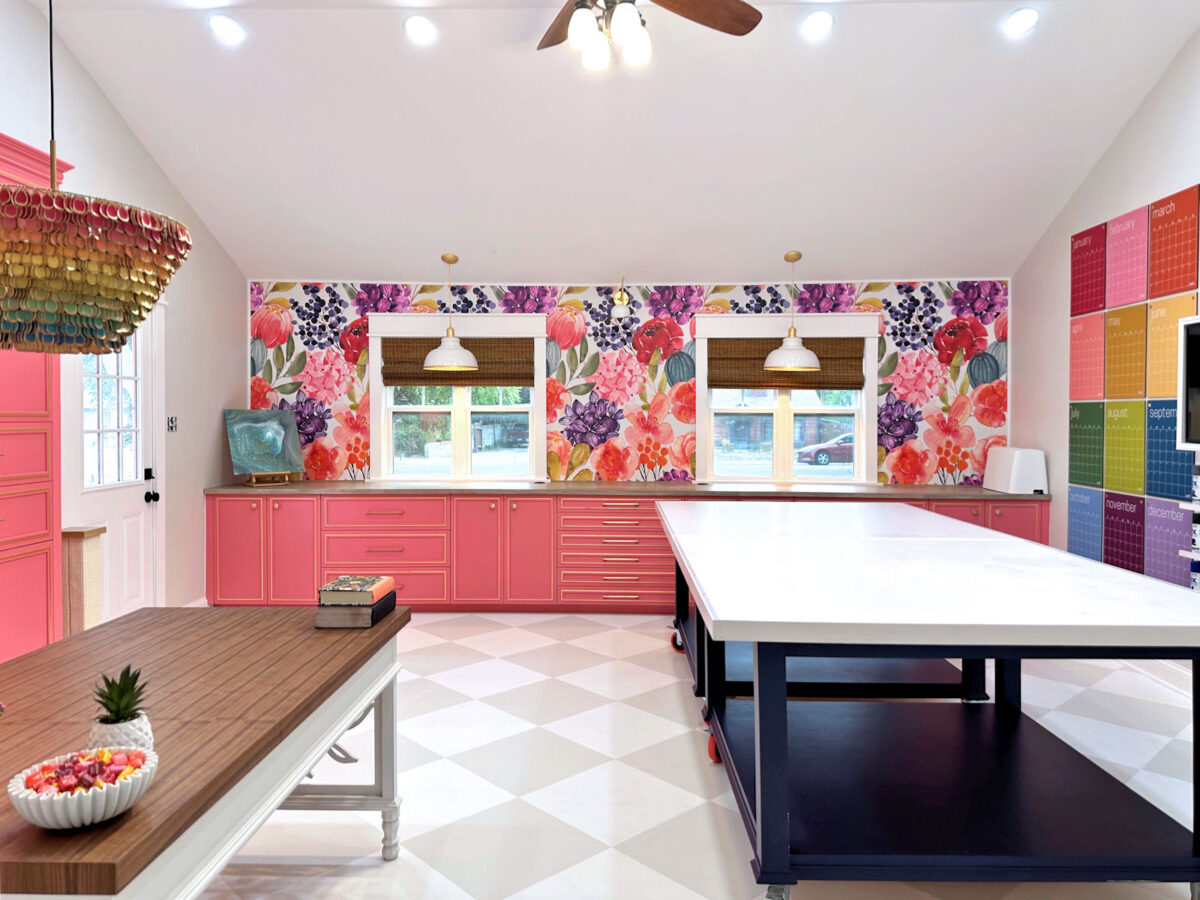
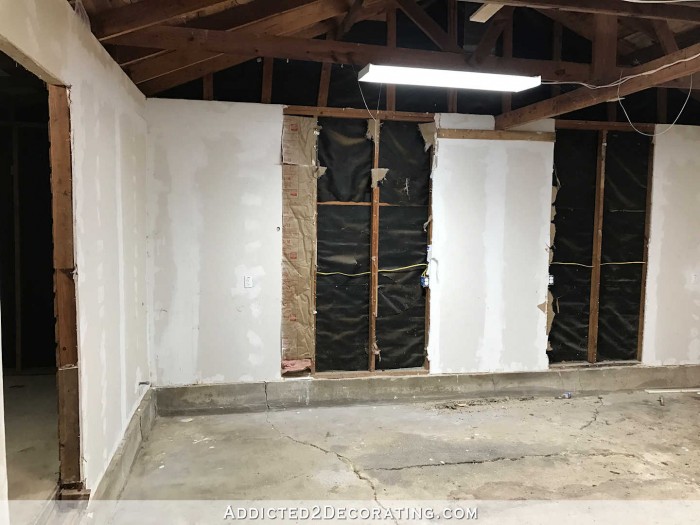
Just as a reminder, my studio was originally the garage. So standing at the front garage doors and looking towards the back yard, this was the view…
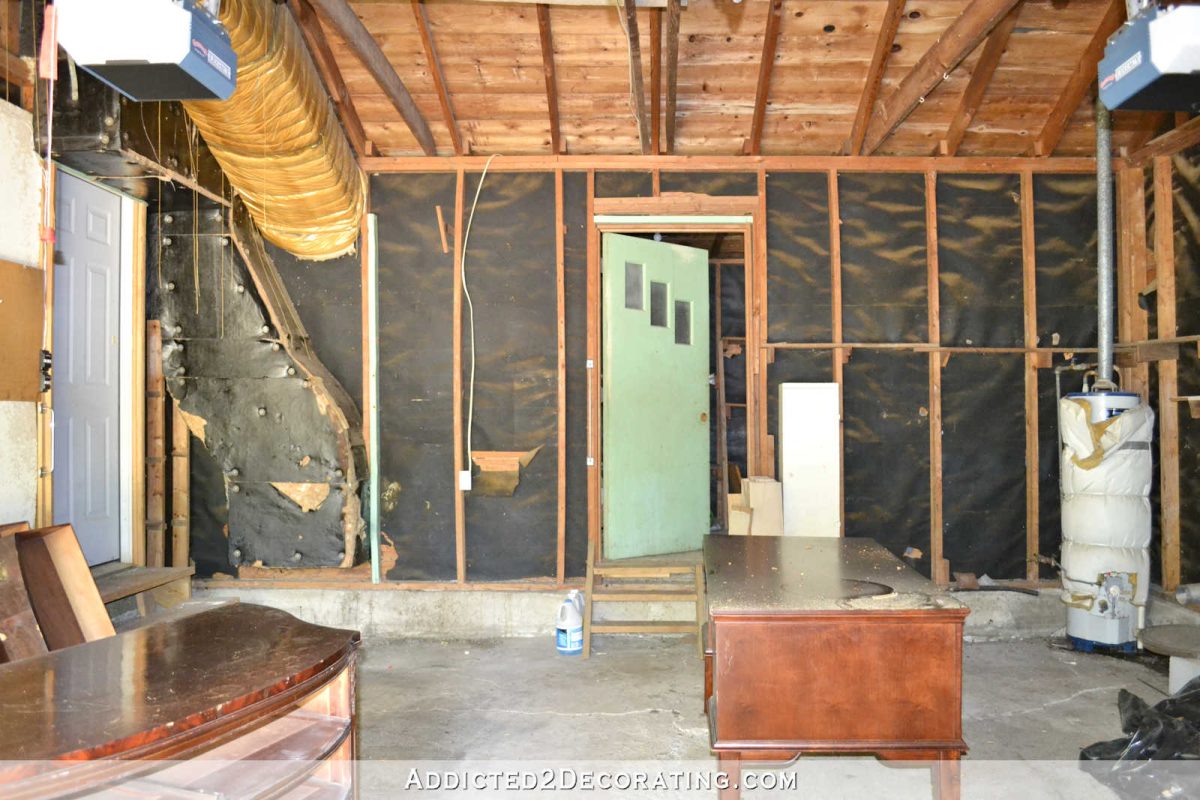
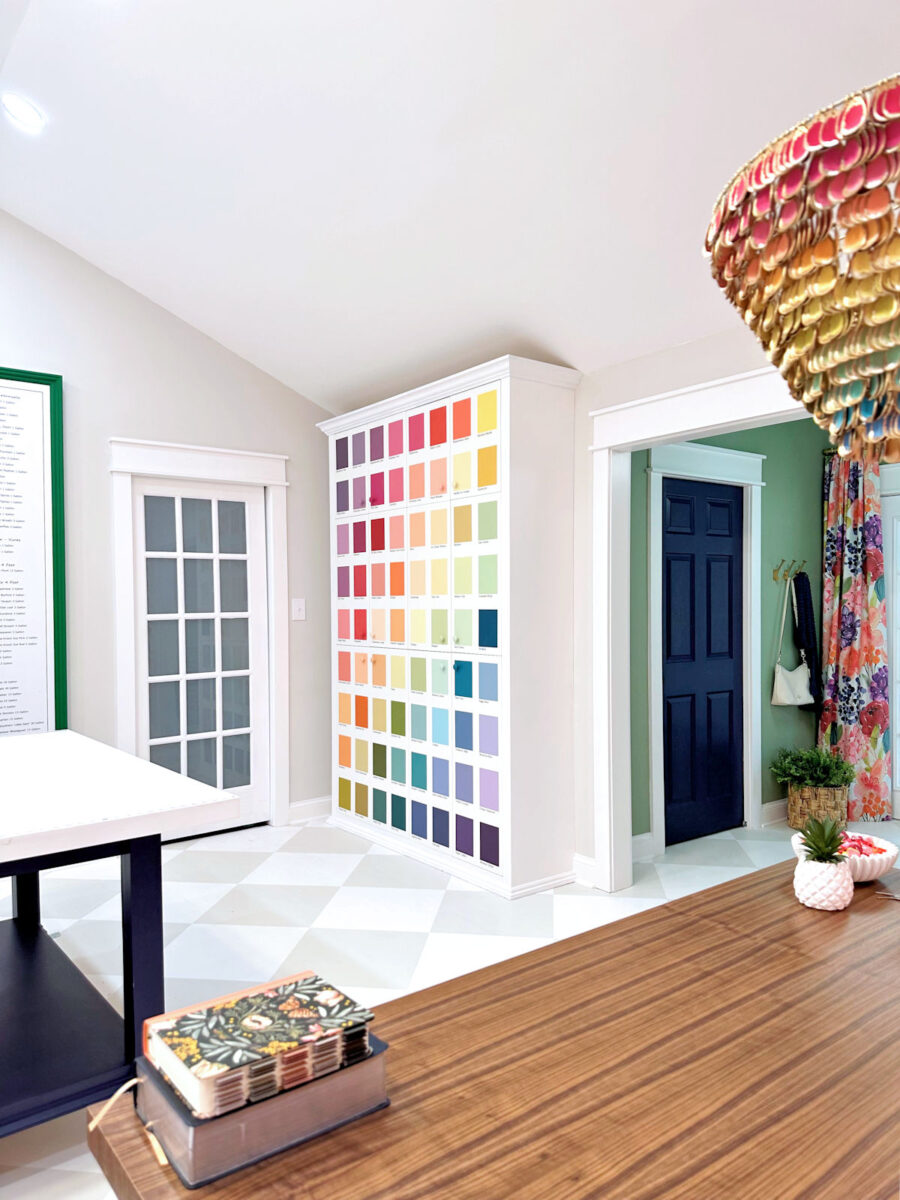
And today, that view looks like this…

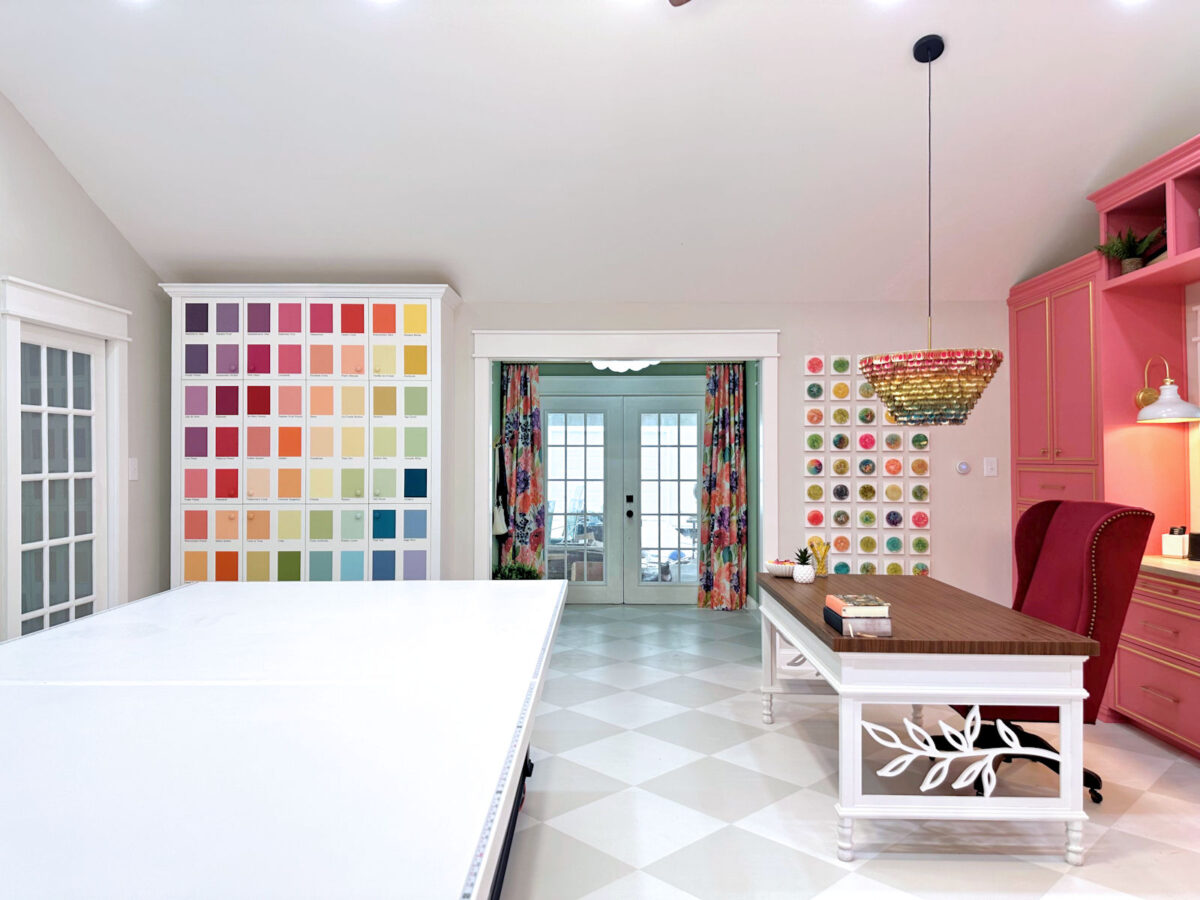
Unfortunately, I didn’t take many photos of the garage when we bought the house, so the earliest photo I could find looking towards the front of the room (i.e., standing at the back and looking towards the front yard) was this one that was taken just as the transformation was beginning, after the garage doors had been removed, and as the concrete perimeter was being filled in where the garage doors had been.

And today, that view looks like this…

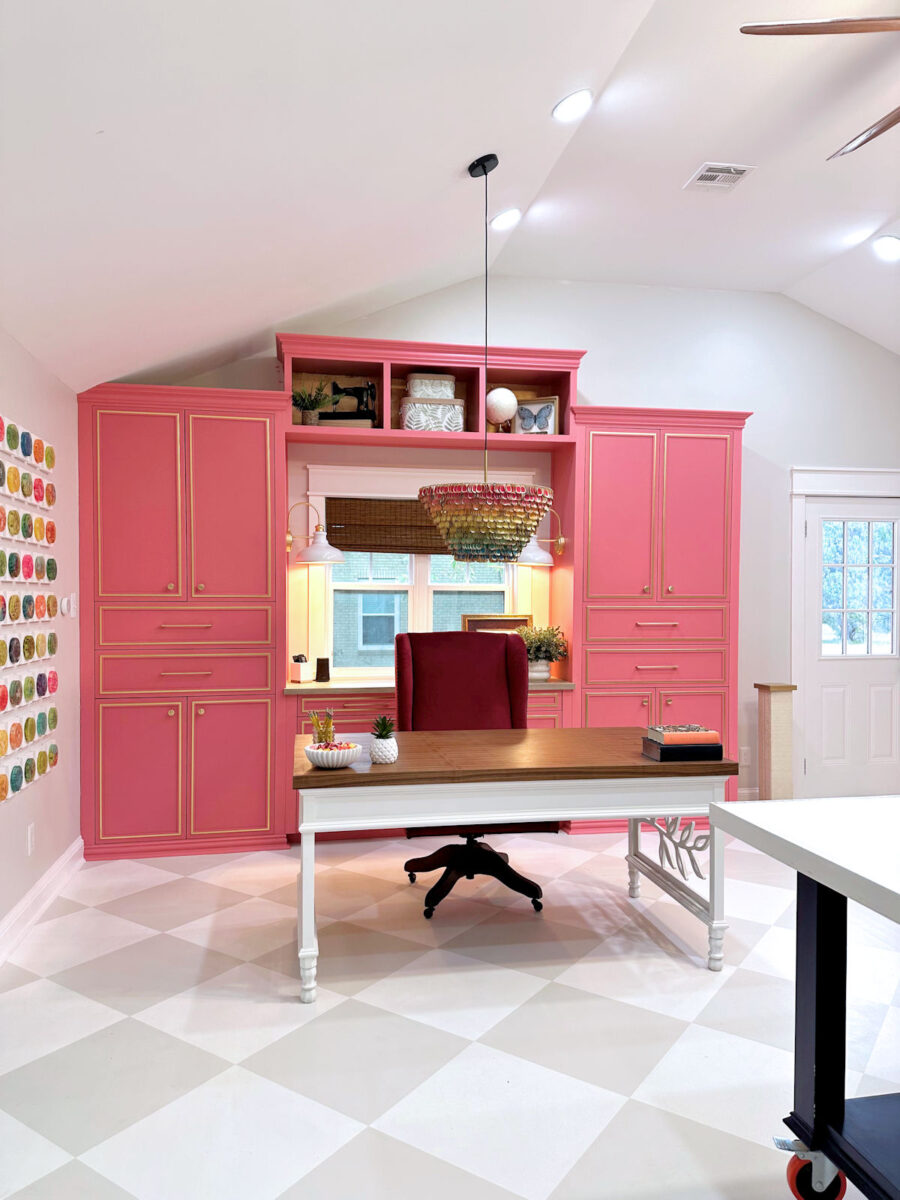
I really do regret not taking more before pictures. When we bought the house, the garage didn’t actually have drywall. All you could see was the black tar paper, and it felt so dark and dreary. This is a view of the corner which is now my office area of the studio.

So today, that area looks like this…

And of course, since it was a garage, the floor was at ground level and there were steps up into the house.

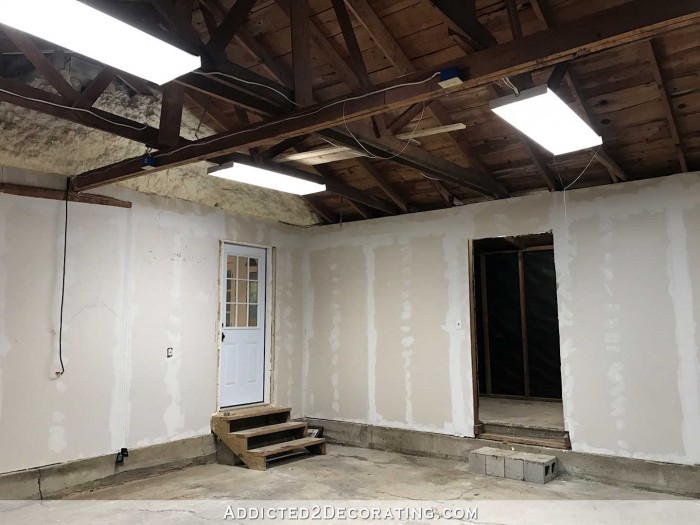
And now, the floor has been raised to be level with the rest of the house

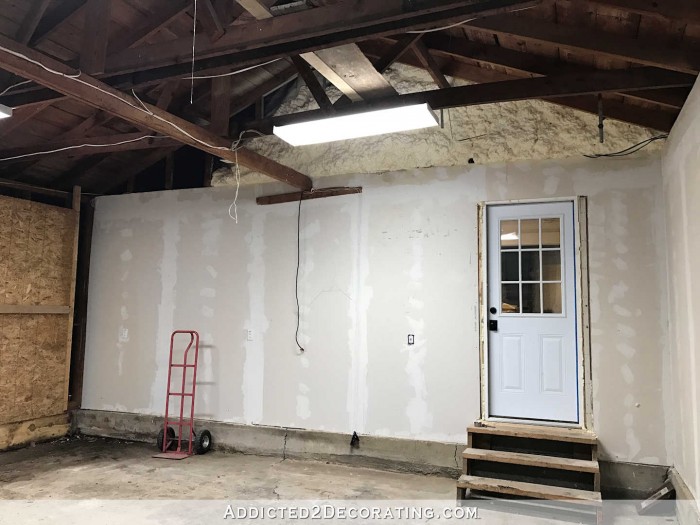
Again, this drywall wasn’t originally there. We added that later, and we also removed the furnace which had huge ducts that filled the space over the door leading inside the house. But this is still a pretty good idea of what we started with.

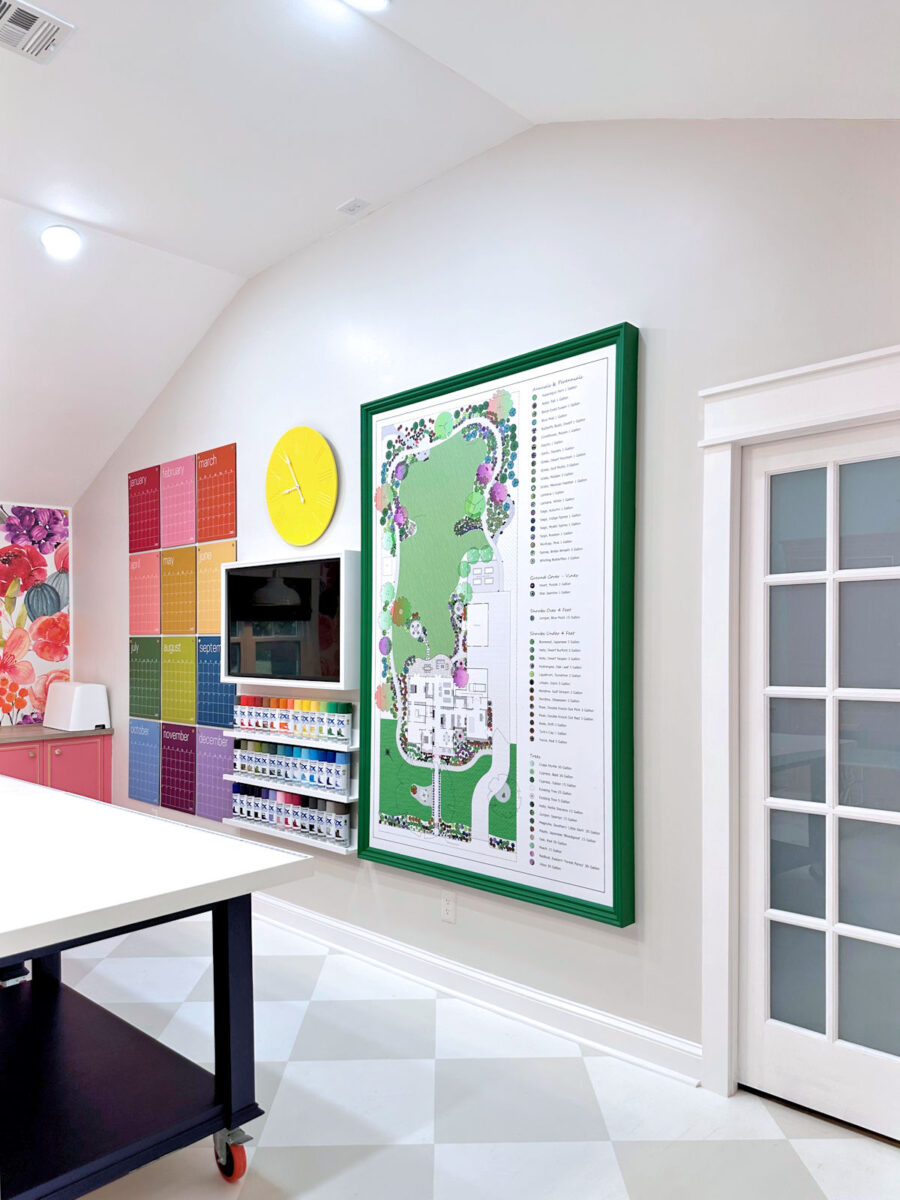
And today, that wall of the room looks like this…

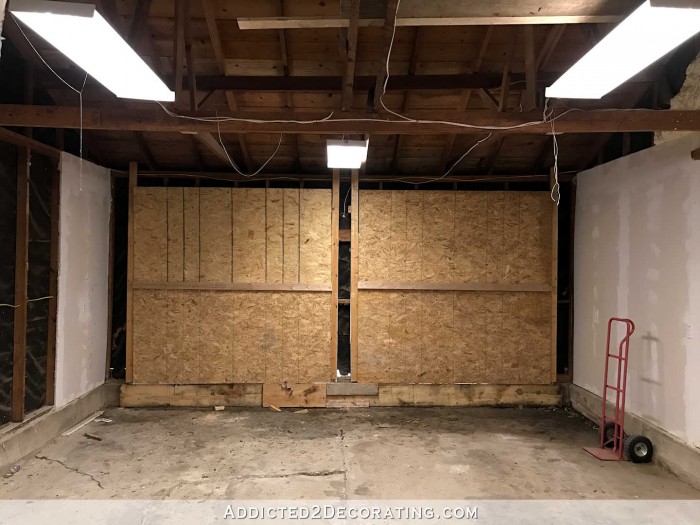
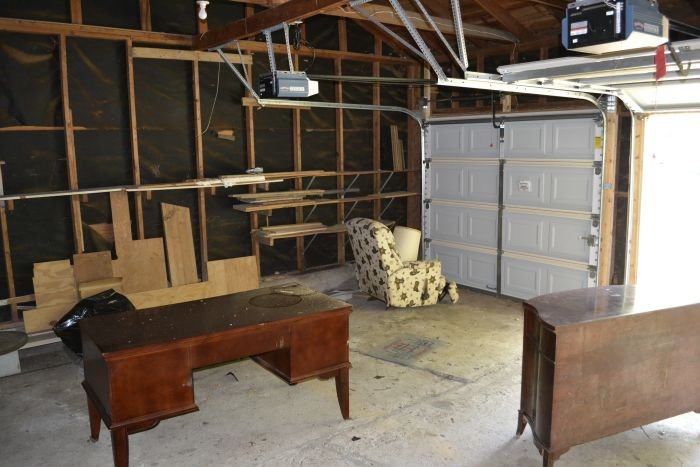
This is the one true “before” picture I could find that actually has no drywall and still has the garage doors.

And that view looks like this today…

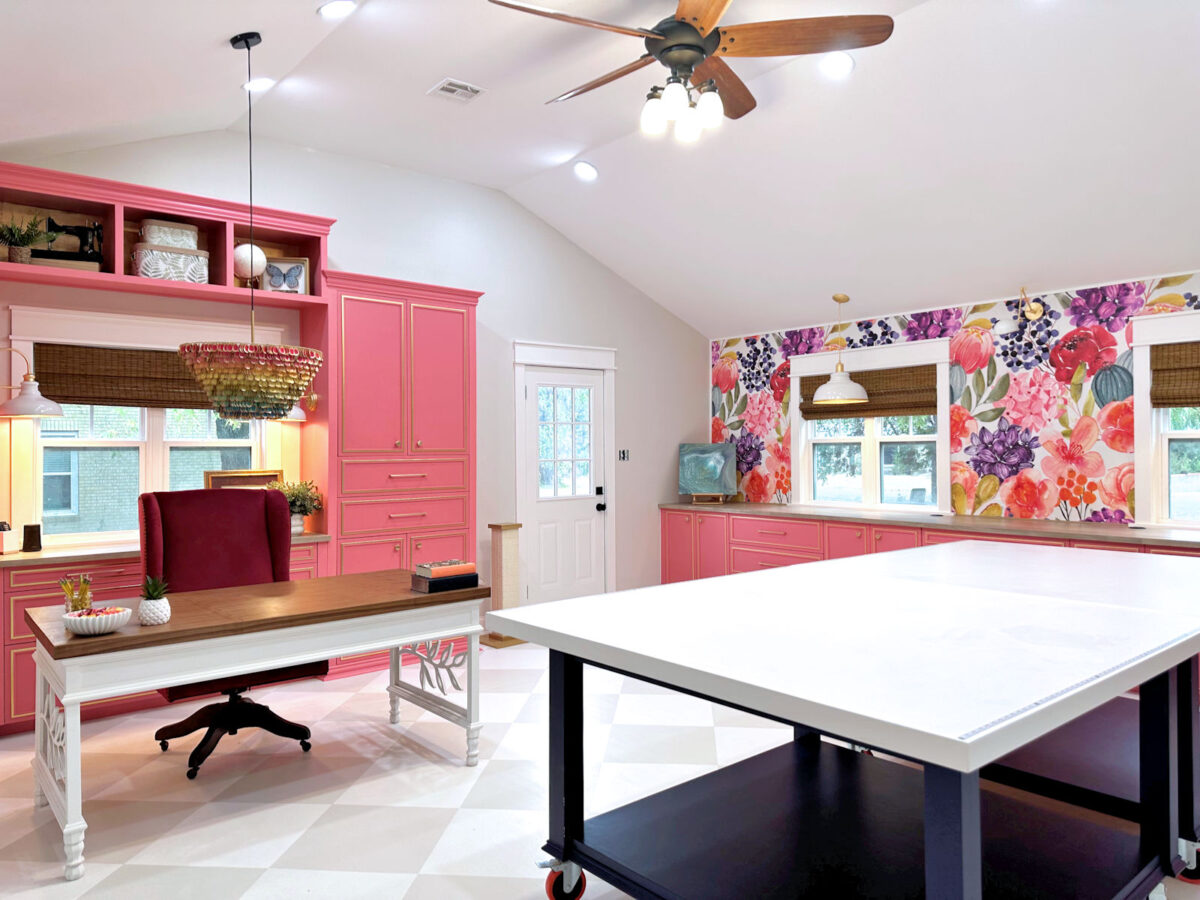
I can’t believe it’s finished! I still have some organizing to do inside the drawers and cabinets, and I’ll give y’all a peek inside all of those when I’m finished. I have everything put away right now, but I’m still making some tweaks to how I want things arranged.
In the meantime, here are a few more pictures of the finished room, presented without commentary. Enjoy!

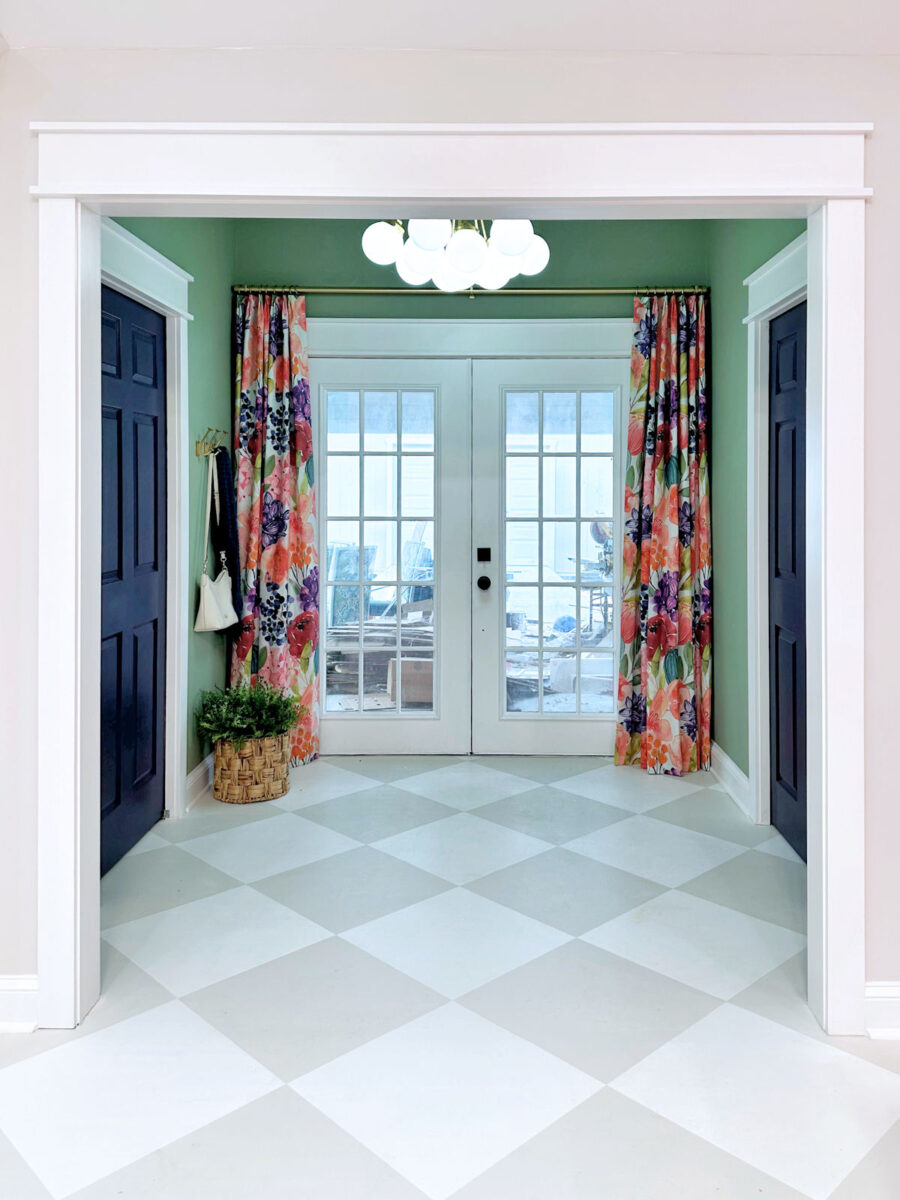

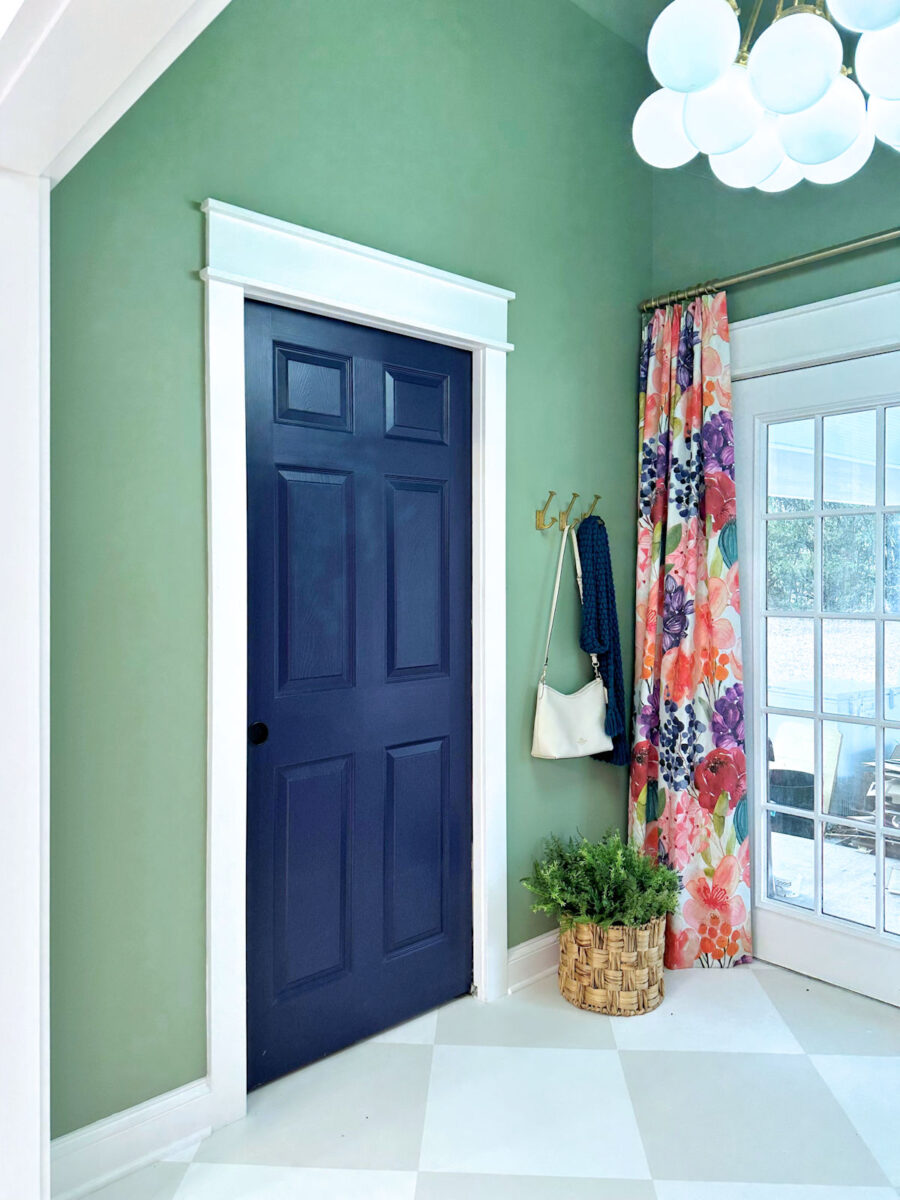

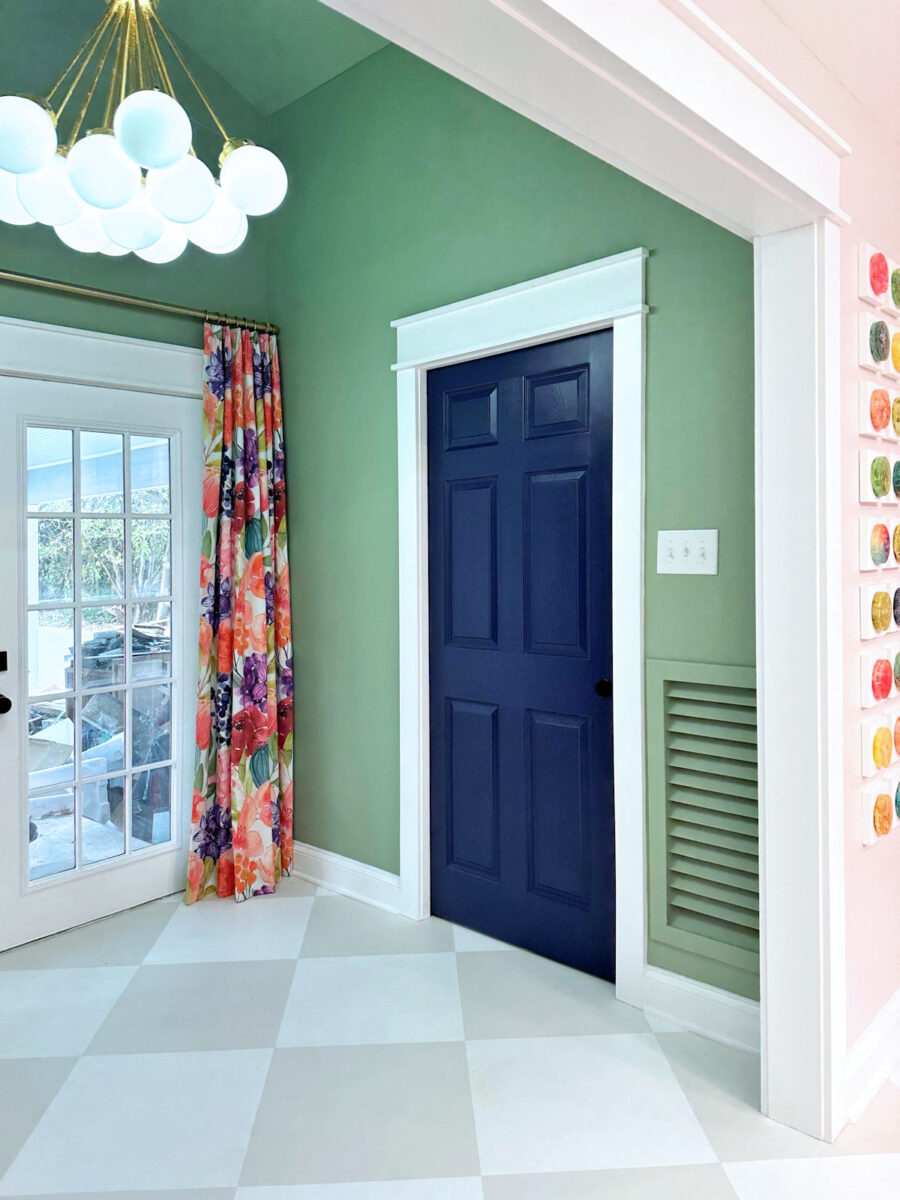

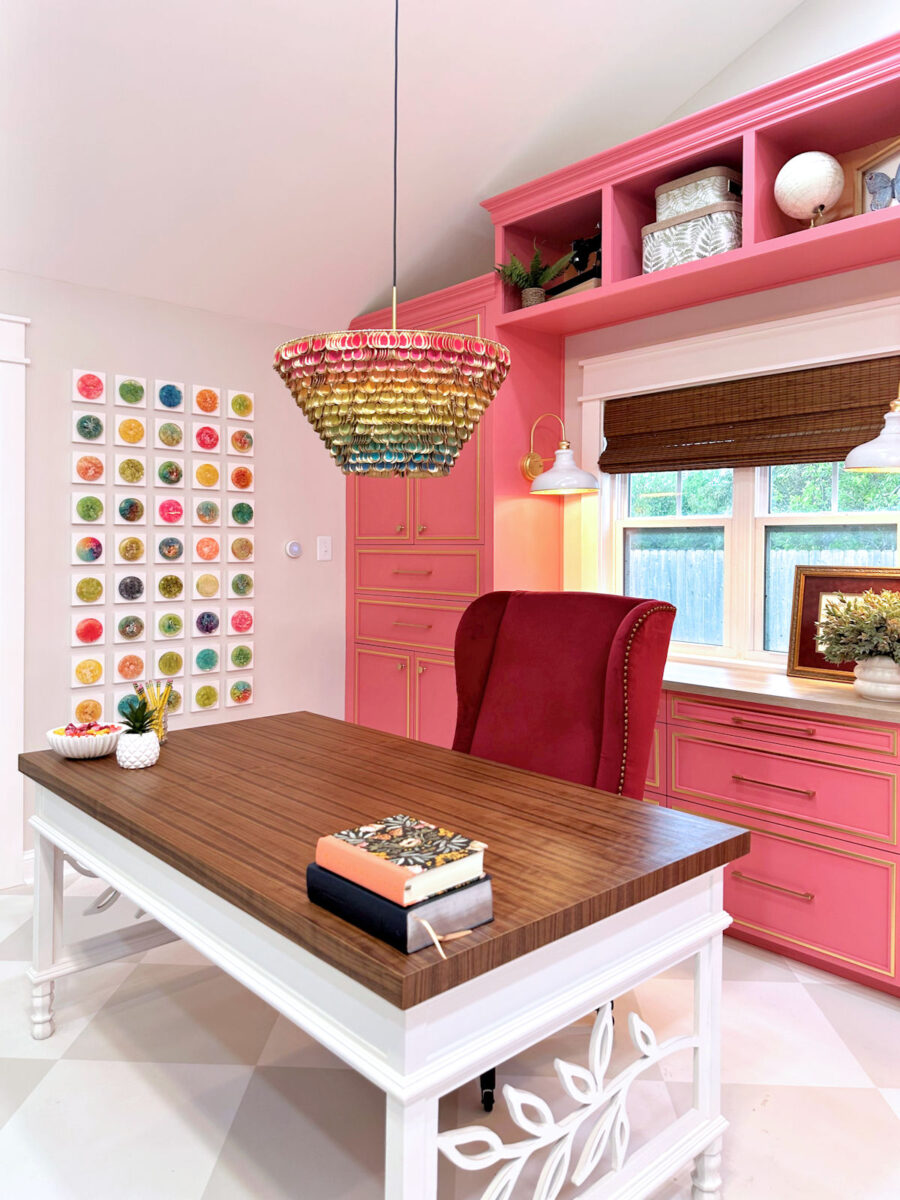

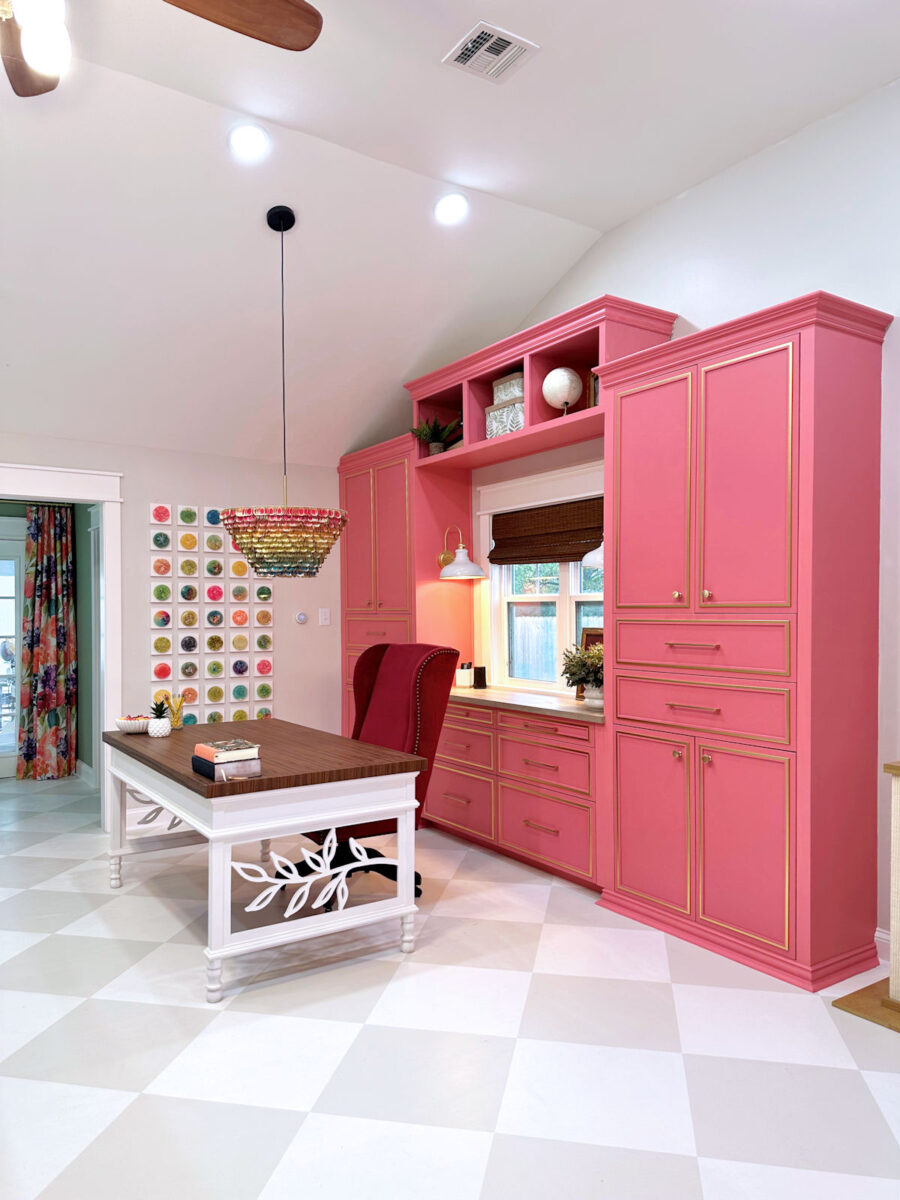

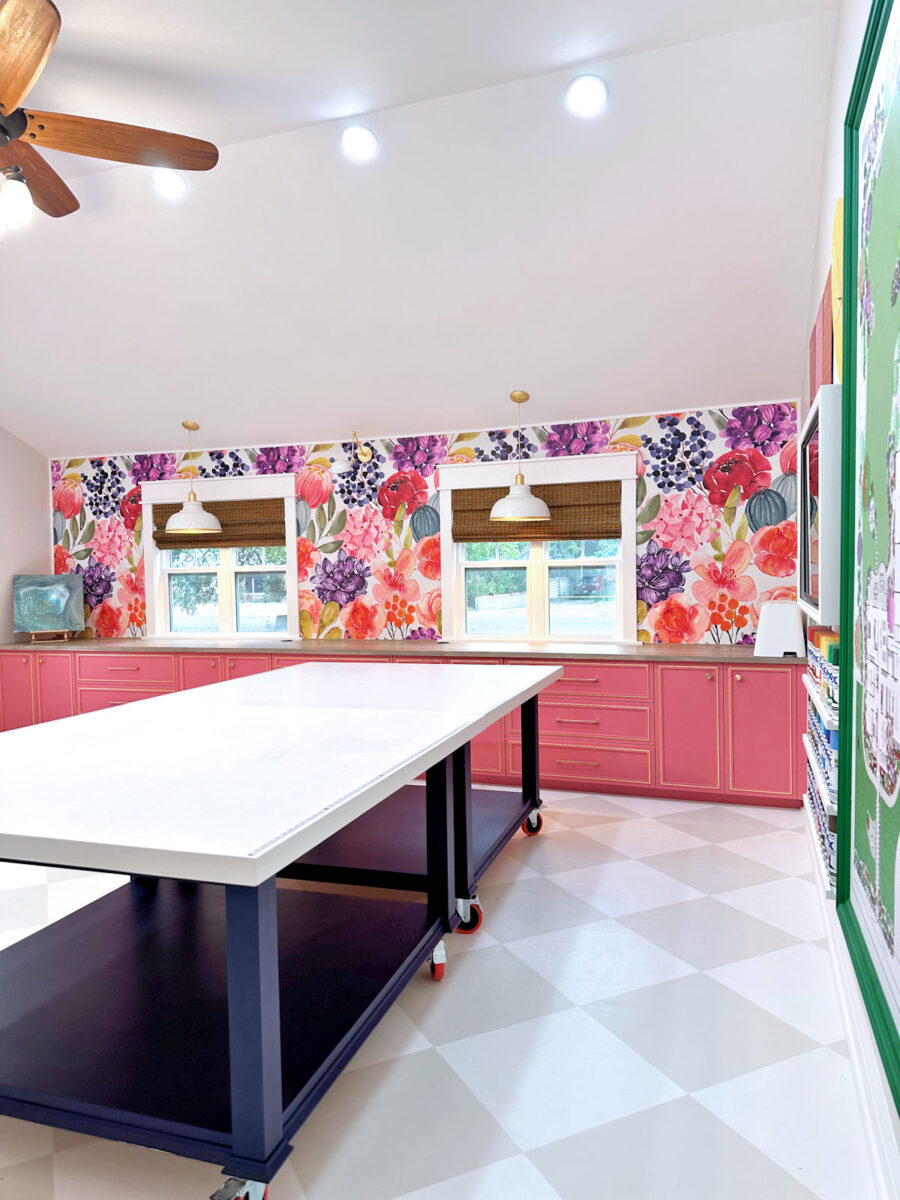

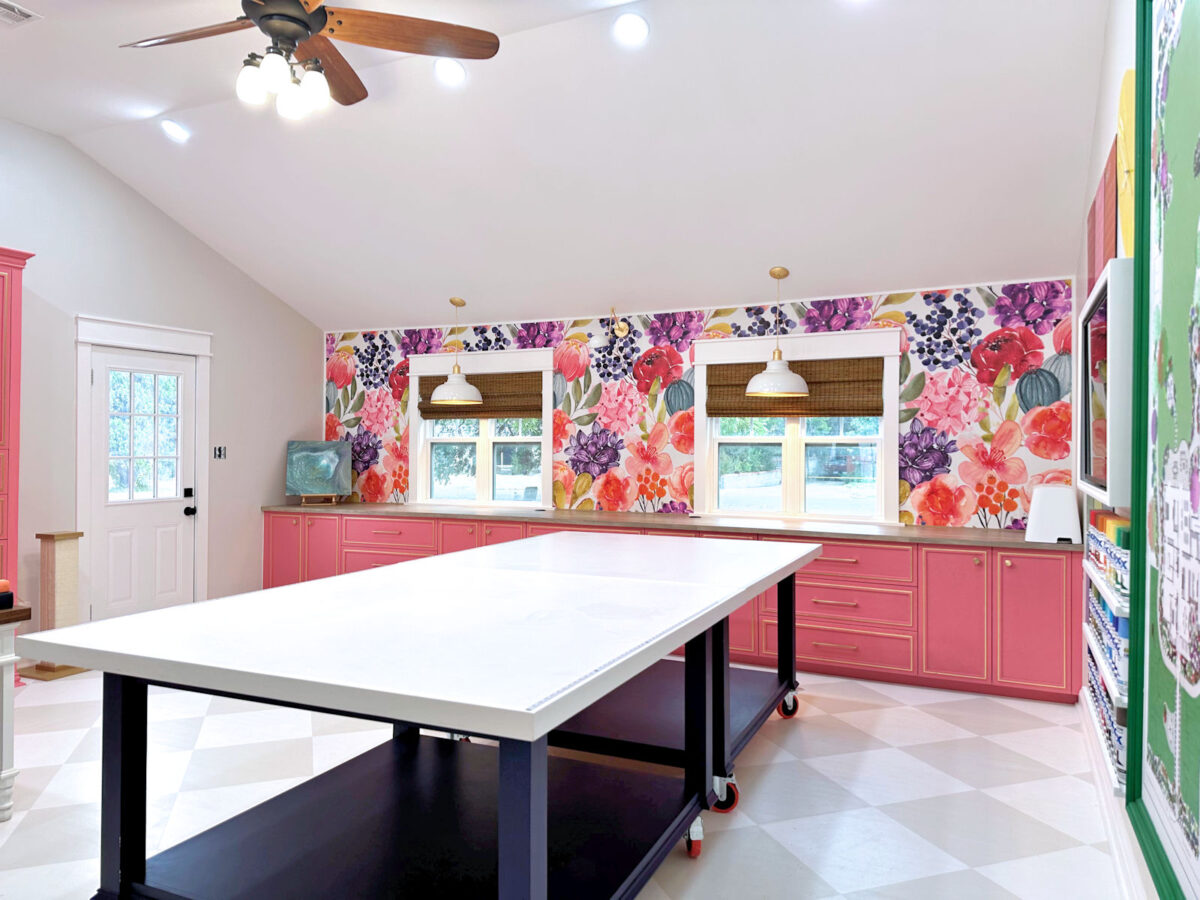

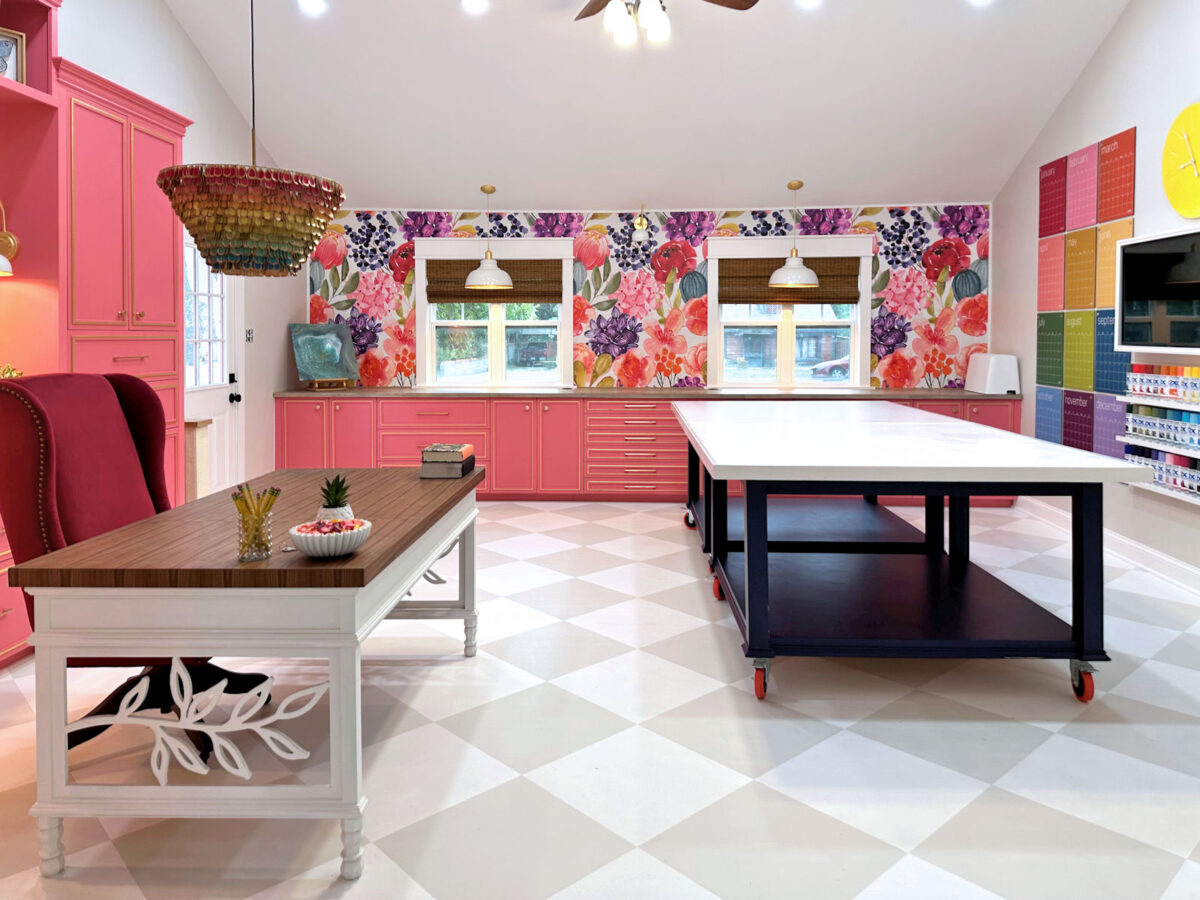

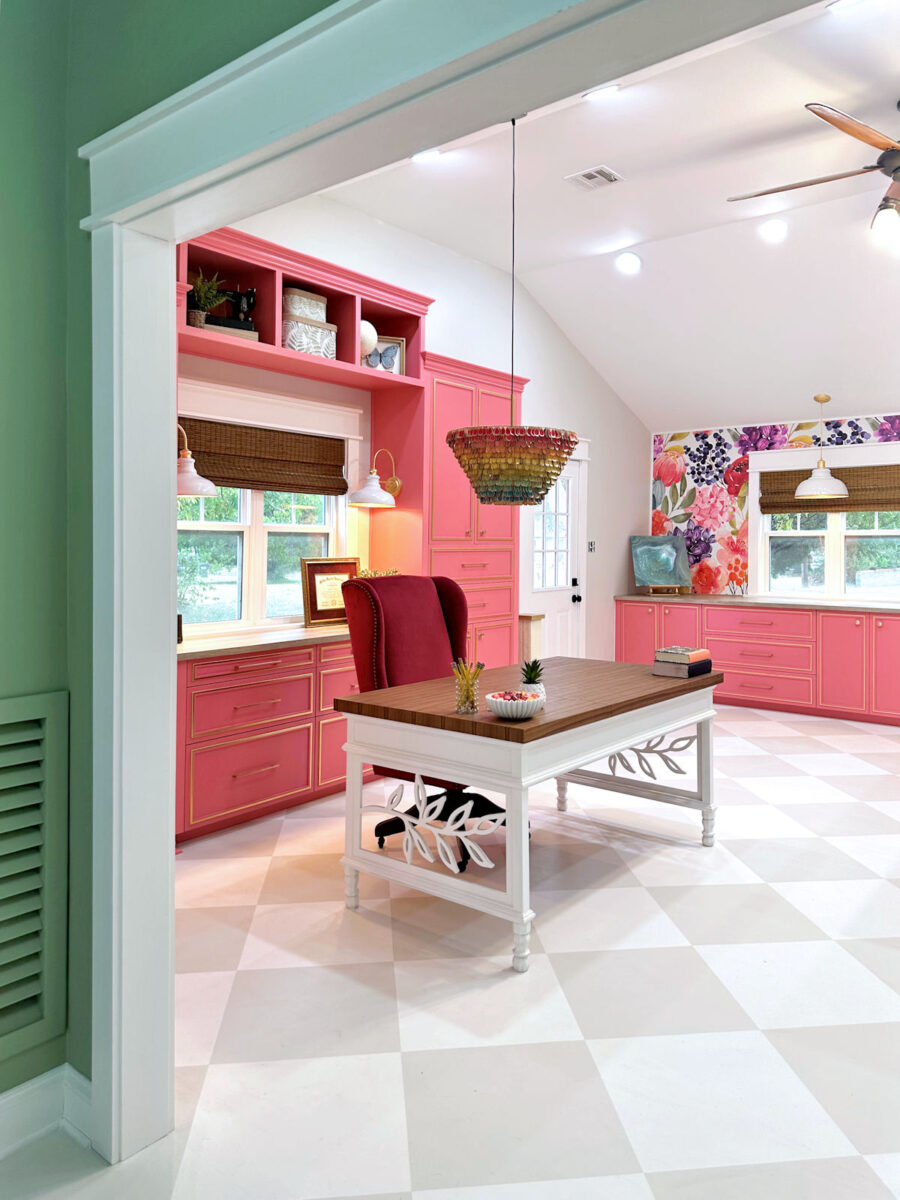
If you’re looking for any of the DIY projects that went into this room (the cabinets, the painted floor, the desk, the tasting spoon pendant light, the laminate flooring countertops, and so much more) you can find all of those projects here.
I can’t even believe it’s done. This room has occupied most of my time and energy for the last year, and I felt like I was stuck in Groundhog Day. But it’s done, and I can move on. Next up is the carport. Now that we have a driveway and I have a workshop, I need to get the carport cleaned out so that I can actually park a car in there.
After that, I will start on the bedroom. I’ll start by installing the hardwood flooring and getting that stained and sealed, and the move on to making a headboard, making draperies, and decorating that room. And then after that, I’ll move on to the closet and laundry area. So there are some exciting things coming up! But quite honestly, I may also spend quite a bit of time over the next few days just sitting in my studio and enjoying the finished room. It’s such a colorful, happy space, and I can’t wait to spend time in here being creative!
Addicted 2 Decorating is where I share my DIY and decorating journey as I remodel and decorate the 1948 fixer upper that my husband, Matt, and I bought in 2013. Matt has M.S. and is unable to do physical work, so I do the majority of the work on the house by myself. You can learn more about me here.


